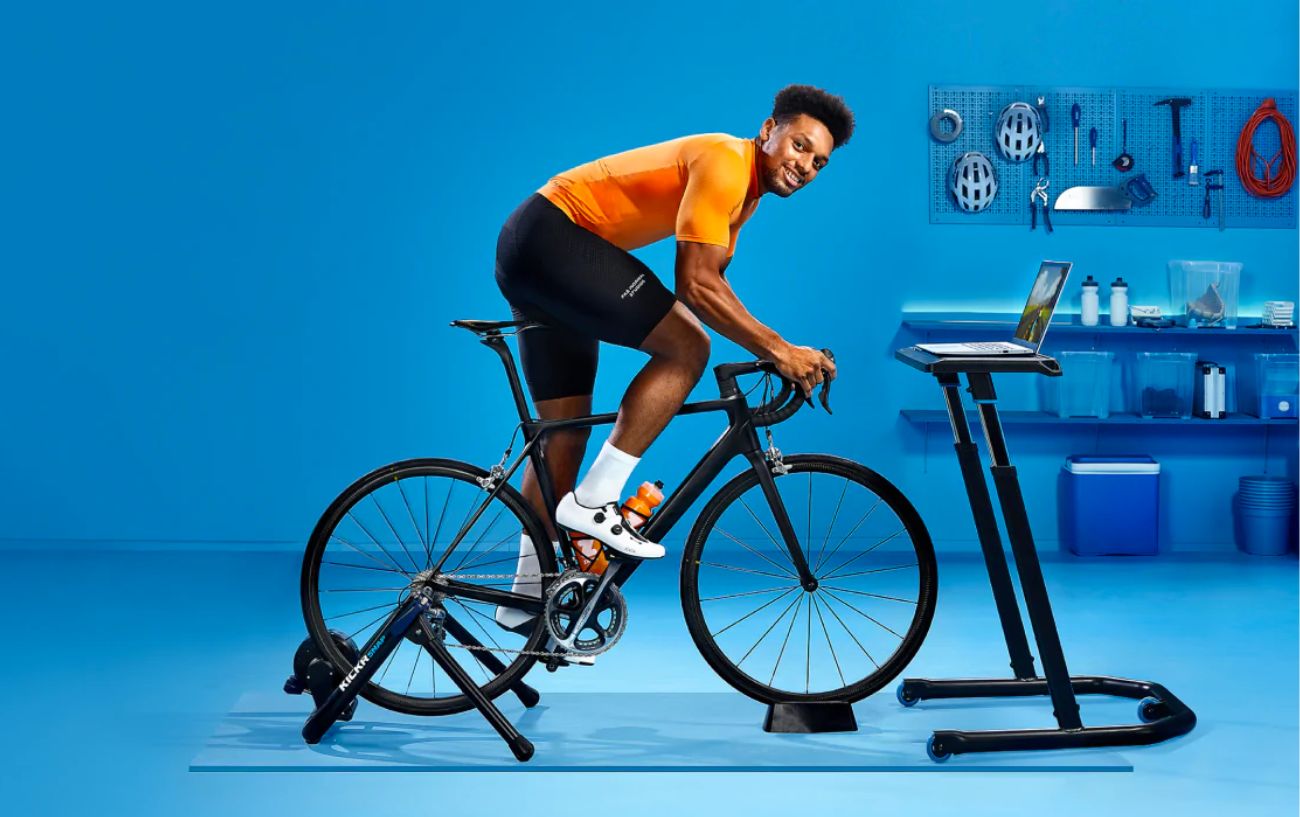
If you’re looking for a Zwift setup guide, you might’ve heard other cyclists reference their “Zwift setup”.
This simply refers to the equipment you are using to run Zwift for your workouts.
The good news is that there are some budget-friendly Zwift setups that can have you riding through the virtual world of Watopia – and even taking on Zwift workouts and training plans – without a ton of expensive equipment.
On the other end of the spectrum, avid cyclists who have the financial means can also outfit their home with a premium Zwift setup with all the imaginable bells and whistles.
In this Zwift setup guide, we’ll be running you through the gear options for cyclists of all different levels and budgets. We’ll be covering:
- How Much Do I Need to Spend On My Zwift Setup?
- Making Space For Your Zwift Setup
- Zwift Setup Guide: The Best Zwift Setups For Every Budget
Let’s dive into our Zwift setup guide!

How Much Do I Need to Spend On My Zwift Setup?
There are quite a number of ways to fashion your Zwift setup, ranging in cost from a couple of hundred bucks up to several thousand dollars.
For cheaper options, you may have to compromise on having all of the potential functions of Zwift available to you, whether you want to ride your road bike indoors on a trainer or buy a dedicated smart bike for Zwift, and your budget.
With any Zwift setup, there are essentially four components that you will need:
- Bike
- Smart Trainer or Turbo Trainer
- Device to run Zwift
- Indoor Space for your Setup (known to many Zwifters as the “Pain Cave“)
There are a few exceptions to these specific needs. For example, there are some Zwift-compatible smart bikes that will combine the need for the first two into one single entity.
In terms of cost, each of the first three options can vary wildly. It’s even possible to use the Zwift with a “dumb trainer” – but then you will need additional gear for your Zwift setup such as a power meter.

Making Space For Your Zwift Setup
In terms of space, consider whether you’ll have a permanent Zwift setup, such as attaching your regular bike to your smart trainer for the off-season, or buying a dedicated smart bike to run Zwift.
Alternatively, if you are going to be doing a mix of indoor and outdoor riding, your Zwift setup might need to be more mobile so that you can easily get your bike in and out of the room where you are riding.
No matter where you intend to ride with Zwift in your house, you want to make sure that the space is well ventilated, or has easy access to a fan or air conditioner.
The other important consideration is that you will need a strong Wi-Fi connection. You do not want to be too far away from your modem and router or you will have lags in streaming Zwift rides!
This can be extremely frustrating – and you might lose some of your workout data too.

Zwift Setup Guide: The Best Zwift Setups For Every Budget
Best Zwift Setup On A Budget
If you’re on a tight budget or don’t envision yourself using Zwift all that often, you’ll want an inexpensive Zwift setup.
The best cheap Zwift setups require the following:
- A Bike You Already Own
- Basic Indoor “Dumb” Trainer
- Power Meter
- Compatible Computer, Smartphone, or Tablet with Bluetooth or ANT+ Connection
A regular “dumb” trainer (as opposed to a “smart” trainer) does not have the ability to transmit any data to Zwift without adding a speed sensor or power meter.
If possible, it is much better to use a power meter if you are going to stick with a regular indoor trainer rather than upgrading to a smart trainer.
You’ll want to choose a Bluetooth-enabled power meter so that your power data will be transmitted to the Zwift interface as you ride. Otherwise, you will need to buy an additional ANT+ adaptor.
Even though investing in a good power meter isn’t necessarily that cheap, the benefit of doing so extends beyond giving you a much more accurate ride with Zwift over using a basic speed sensor – plus you can use the power meter when you ride outdoors as well.
Budget indoor trainers are available from under $100. Assuming you already own a bike and a Zwift-compatible device (a smartphone will do!), the most expensive part of this Zwift setup will be the power-meter pedals.
These are available for under $300 – but bear in mind that there’s a big difference in quality, accuracy, and features between budget power meters and premium options.
With all that in mind, you can get going with the cheapest Zwift setups from around $350 all in (provided you already have a bike and a smartphone).

Best Zwift Setup for A Mid-Range Budget
In order to fully take advantage of all of the features of Zwift, however, riders need a smart trainer.
The biggest benefit of using a smart indoor trainer is that you do not need a power meter. The smart trainers are able to directly communicate with Zwift so that your power is automatically transmitted to the app as you ride.
However, you won’t be able to take the power meter off the trainer on your outdoor rides as you can when you are hooking up a standalone power meter to a dumb indoor trainer.
You can use either a wheel-on or direct-drive smart trainer with Zwift.
Most cyclists find that a direct-drive smart trainer provides a more realistic road feel, replicating riding outdoors better. Smart trainers with a direct drive mechanism are also quieter and smoother, but they tend to cost more than wheel-on smart trainers.
In addition to transmitting your power in watts to whatever device you are using to run Zwift, smart trainers will transmit your speed, distance, and cadence as long as your smart trainer is Bluetooth-enabled or has ANT+ capabilities.
Just make sure that the smartphone, tablet, laptop, or other device that you are using to run Zwift is also Bluetooth-enabled or ANT+.
Good quality Zwift-compatible smart trainers typically cost between $600 and $1200, though it’s possible to pay more or less depending on your budget.

Worth Considering for Mid-range Zwift Setups: Zwift Hub Smart Trainer
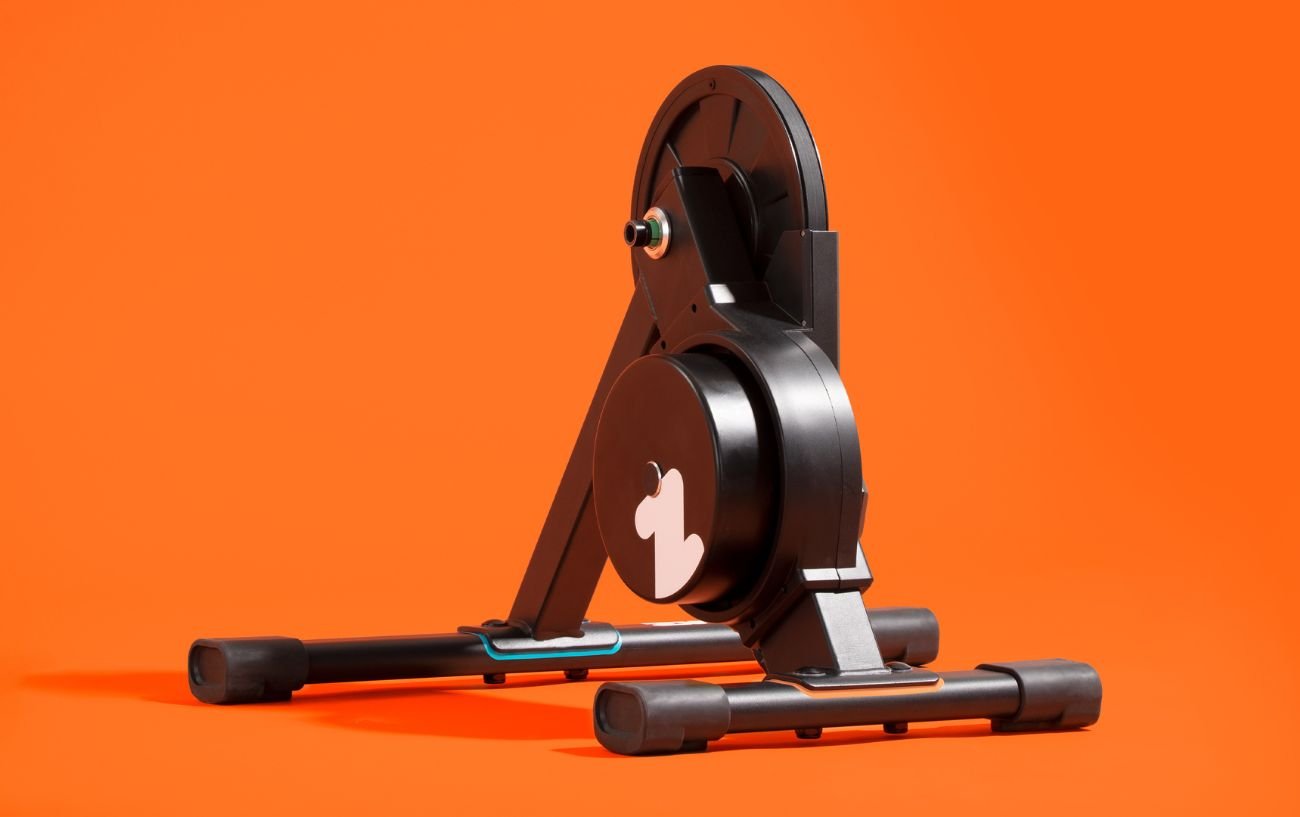
Although nearly any smart trainer will work with Zwift, you might consider going with Zwift’s own branded smart trainer released last year, called Zwift Hub.
Zwift has manufactured the Zwift Hub as a quiet direct-drive smart trainer to mimic the feel of cycling on real roads. User reviews note that the Zwift Hub is super smooth, easy to use, and integrates seamlessly with Zwift.
When you purchase the Zwift Hub smart trainer, you can select the cassette size that matches the cassette on your bike so that you are ready to ride as soon as you get the trainer without needing any additional tools.
This is a convenient perk for new cyclists who do not have much familiarity with bike gears and setting up their bikes on an indoor trainer.
Zwift Hub also allows you to take advantage of automatic resistance, meaning that the resistance that you feel on your bike as you ride with Zwift will realistically match the gradient of the virtual road you’re riding.
The auto-resistance adjustment goes up to an impressive 16 percent grade, which surpasses pretty much any climb you’ll find on Zwift’s Watopia courses or any of the other eight guest worlds in Zwift, including the esteemed Alpe du Zwift.

This not only allows you to feel the burn as you grind up all of Watopia’s mountains, but you will also get to enjoy coasting down hills and energy savings when you are drafting another Zwifter on a group ride.
Additionally, when you’re using ERG Mode on Zwift Hub, the smart trainer automatically adjusts resistance to match your workout intervals when tackling Zwift workouts.
Like other smart trainers, the Zwift Hub smart indoor trainer features a power meter that accurately measures your pedal power in watts as you ride with Zwift.
You will need this information when doing an FTP test, or when tackling Zwift workouts, training plans, rides, and Zwift races.
Note that the Zwift Hub smart trainer can wirelessly transmit your workout metrics using Bluetooth or ANT+.
At $499, the Zwift Hub is also relatively affordable compared to its smart trainer competitors – a significant draw for many indoor cyclists.
Best Premium Zwift Setup
The most expensive premium Zwift setups involve purchasing a smart bike.
These types of exercise bikes tend to have a slightly different feel than your outdoor bike. Most riders find that the ultimate Zwift setup for a decked-out pain cave is to buy a high-end Zwift-compatible exercise bike such as the Wahoo KICKR Bike or a Wattbike.
The best Zwift-compatible smart bikes are belt-driven exercise bikes, usually with digital magnetic resistance. As such, they operate extremely smoothly and quietly.
Most of the exercise bikes that are compatible with Zwift are premium exercise bikes, so they tend to have excellent Bluetooth capabilities for seamless pairing with the Zwift app and/or Apple TV.
For reference, both the Wahoo KICKR Bike and the Wattbike Pro currently retail at around $4000 – a vast increase from the other options in this Zwift setup guide.

Now You’ve Read The Zwift Setup Guide…
Overall, even the cheapest Zwift setups do require some investment and money to get started.
However, using Zwift for your indoor cycling workout is a great way to transform an otherwise very monotonous and seemingly endless indoor ride into a dynamic, interactive, goal-oriented workout.
Once you have your gear, you can sign up for Zwift here.


