Bikes and their components do not come free, and they also don’t last forever. However, there are many things you can do to prolong your bike’s life!
There are so many reasons to love cycling, but if there’s one thing that is less than ideal about the sport, it has to be the price of the gear.
Bikes these days can easily set you back thousands of dollars, and the constant need to replace certain parts only increases the cost. So, it’s worth doing everything possible to ensure that your bike and its components last as long as possible.
But what are some good tips to make your bike last longer? And how can you ensure that your components don’t need replacing very often?
Don’t worry! In this article, we’ll give you eight essential tips for keeping your bike in tip-top condition. We’ll be covering:
- #1. Keeping Your Bike Clean
- #2. Lubricating Your Chain
- #3. Storing Your Bike
- #4. Checking Your Bike
- #5. Using High-Quality Components
- #6. Choosing Your Riding Days
- #7. Having A Winter Bike
- #8. Restoring Your Bike
Let’s dive in!

#1. keeping your bike clean
This is one of the most important things to do to ensure the longevity of your bike.
Dirty, muck-filled components easily wear out because the grit gets between the moving parts and increases friction (and a clean bike looks a lot nicer too).
This is especially true if you’re riding in wet conditions or if you’re riding off-road on a gravel or mountain bike. In this case, it’s a good idea to clean your bike after every ride. If you’re riding in summer and on the roads, you won’t have to do it quite so often.
This can usually just be a quick 10-15 minute once-over when you get home from your ride.
You can do this by spraying it down with a hose or a pressure-washer and then applying a purpose-built degreaser or WD40 to your drivetrain with a thin brush (a toothbrush works great), and then rinsing it once again.
This quick method is suitable for regular cleaning, but every now and then, you’re going to need to give it a proper, thorough scrub. This is just as important since some dirt is very difficult to reach with the components on the bike, yet just as harmful.
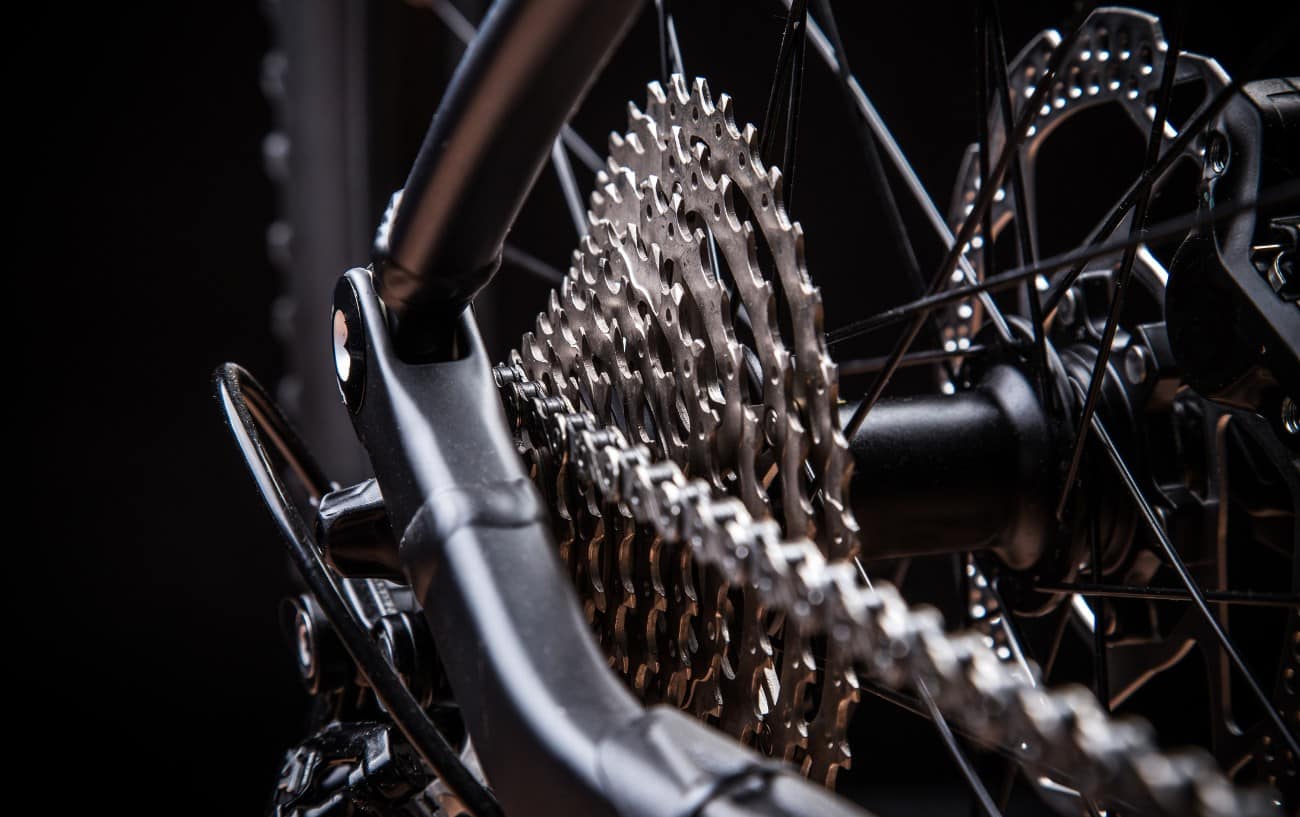
The most effective way to do this is to remove the cassette and chain, soak them in degreaser, scrub them, and put them back on your bike. While the cassette and the chain are soaking, you should have access to really go to town on the chainset and derailleurs.
Although this is slightly tedious, it will leave your drivetrain looking brand new again!

#2. Lubricating your chain
An unlubricated chain decreases the longevity and efficiency of your drivetrain due to increased friction. You should do this after every time you wash your bike.
Luckily, it’s pretty easy, though notice that it says “lubricate your chain” and not “lubricate your drivetrain”. This is because the only part that needs lubricating is the chain. Apply one drop of lube to each link, let it sit for five minutes, then rub off any excess with a rag.
- Check out our Easy Guide to Lubing a Bike Chain here!
Additionally, make sure that you use the correct lube for the job. “Dry lube” is, as the name suggests, for use in dry conditions. Excessive rain will be problematic. “Wet lube” is more water resistant, though it does attract more dirt.
- Want to know more? Check out our full guide to Wet Lube Vs Dry Lube here!
You could also consider waxing your chain too – a process more and more cyclists are converting to!

#3. Storing your bike
Where you store your bike is probably the thing that has the greatest potential to reduce your bike’s lifetime.
Storing your bike outside is a big no-no, especially if it’s uncovered in a wet or cold place. A shed can be acceptable, depending on the quality of the waterproofing, the climate, and the security.
You may think that if you own an aluminum or carbon fiber bike, it doesn’t really matter due to the non-reactivity of these materials. However, even in such a scenario, the lug nuts and sometimes components use reactive metals that will degrade in the wet and cold.
Generally, you want to keep your bike in a warm, dry place. It would be ideal if you could keep it in your house or apartment, but this, of course, isn’t an option for everyone. If you can’t do this, the number one priority is keeping it dry, so a bike shed or a garage is a must.

#4. Checking Your Bike
Before you go out on a ride, you should give your bike a quick check just to make sure everything is as it should be.
Nothing will ruin your bike more quickly than the sudden catastrophic failure of your brakes, derailleur, or carbon frame.
A good routine is to start from the front and move backward. The first (and most important) thing to check is the brakes. If they’re disc brakes, are they rubbing? Is there a lot of travel before the action of the pads? Are they squealing?
These are all things that should be major red flags. Make sure that your disc brakes are working as they should. If there’s a lot of travel, they may need bleeding. If there’s squealing, they may need new pads. If they’re rubbing, they’ll need re-aligning.
Of course, there’s not quite as much to fix if your rim brakes aren’t working particularly well. Check the braking material on the brake shoes and the rims. Is it worn out? Check the travel of the levers. They may need a slight adjustment to the tension in the cable.
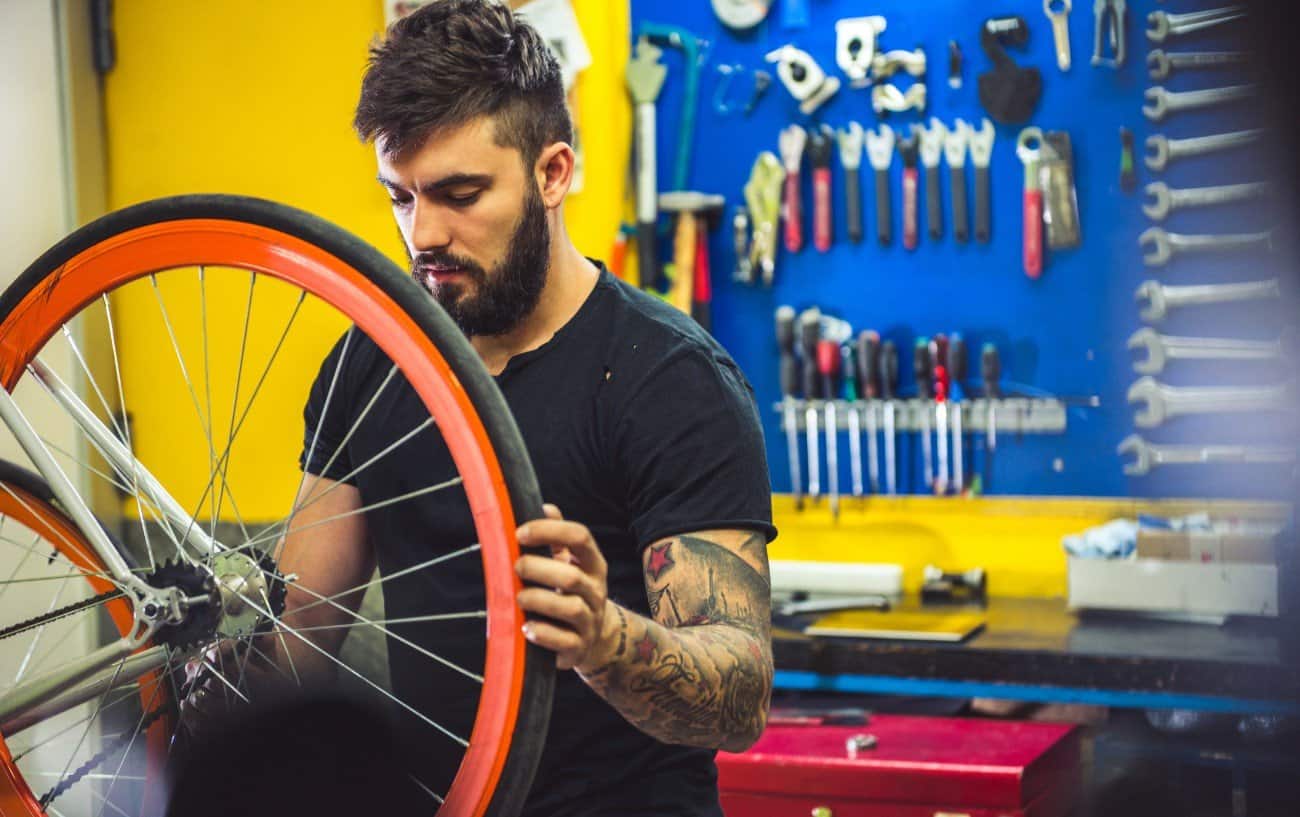
To check your wheels, give them a spin. Are they spinning true? If not, uneven pressure could lead to a buckled wheel with any slight impact. Hold on to the axle and spin the wheel: if you feel a grinding or bumpiness, then the bearings may need replacing.
Check your gears. Is it shifting smoothly? If it’s not shifting very smoothly, you might need to re-tune your gears.
Lastly, if you’ve got a carbon bike, give it a quick scan and gently run your hand along the tubes. If you feel any cracks or abrasions, it’s worth getting a bike shop to take a look rather than taking a risk.

#5. Using high-quality components
If you’ve built or purchased a bike on a budget, then it’s not uncommon to use entry-level components.
Although there’s nothing inherently wrong with this, they generally don’t last as long due to lower-quality materials.
Next time you need to replace some components, consider upgrading to some higher-quality ones. Although this will cost a little extra, you’ll likely save that money in the long run since you won’t need to replace them as frequently.

#6. Choosing your riding days
This one sounds obvious, but it’s sensible to carefully choose the days of your riding in line with the weather. Riding in the rain sucks, but there’s a more important reason, too.
Riding your bike (particularly a steel frame) in very wet conditions can take its toll on its structural integrity. Rusted lug nuts, welds, and components make for a very dangerous and unpleasant ride.
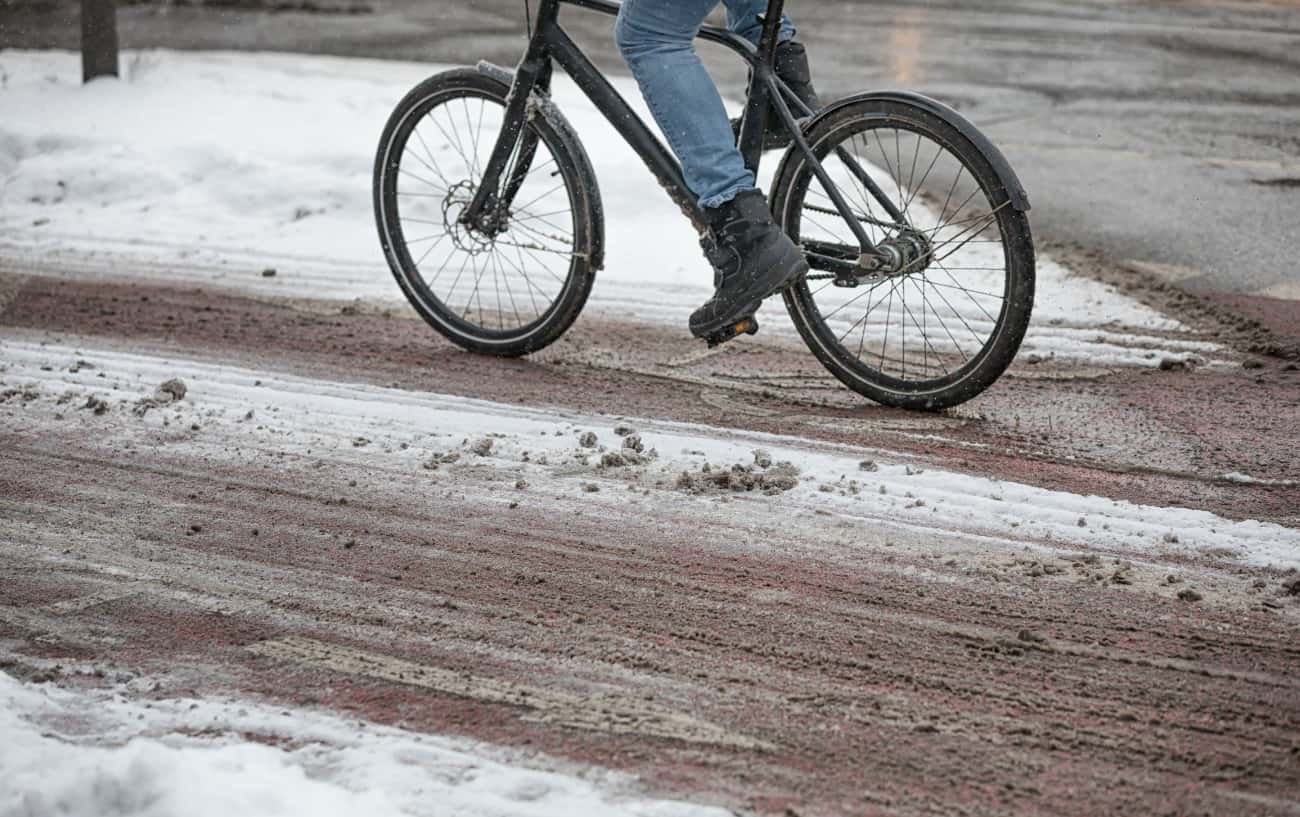
Riding your bike in extremely cold or snowy conditions can lead to accidents that are not only a serious danger to yourself but can also spell the end for your bike.
You’re bound to ride in less-than-ideal conditions, and that’s okay. It’s just important to try and minimize the number of times you do it.

#7. Using A Winter Bike
Winter is the time of year in which you’re most likely to wear out your bike. Wet roads and much more dirt can splash up onto your components and damage them over time.
However, one way to avoid this is by getting yourself a winter bike. One with stronger, perhaps wider tires, a sturdy frame that you don’t care about as much, and lower quality components so that you don’t ruin your best gear.
An alternative to this is to simply use winter wheels or even just tires. This is a common practice in the cycling world, and it’s best to choose a set of wheels and/or tires that are both wider and sturdier.
In winter, there’s a lot more debris on the road that may cause punctures or degrade your tires more rapidly. Additionally, the slicker, wetter road conditions result in lower friction and more chance of coming off the bike.
Wider tires provide more friction and strength to withstand winter conditions and keep you safer on the roads.

#8. Restoring your bike
These tips will help your bike to last significantly longer, but not forever. So, if your bike has already seen better days, what can you do to restore it?
Well, it really depends on what’s wrong with the bike.
If your drivetrain has worn out or become severely rusted, there’s not much to be done. If you want to keep the bike, you may have to replace the entire drivetrain. Light rust is perhaps easier to combat as with certain tools like a Dremel; you may be able to remove it and re-polish it.
If your brakes aren’t up to scratch, then it depends on which type of brakes you have, but often replacing only the brake pads makes a world of difference. Additionally, replacing brake cables can introduce tension to make your braking more responsive.
If the wheels are slightly buckled or missing spokes, you can often get it re-trued for cheaper than replacing the wheels. However, if it’s majorly buckled or the braking surface has worn down, and you use rim brakes, you’ll need to replace them.
Often, if your bike is feeling a little sluggish, replacing the tires can make a huge difference. In fact, using high-quality race tires is one of the best bang-for-your-buck upgrades you can make in terms of the total number of watts saved per dollar spent.
If your frame is severely dented or buckled, then you’re going to need to replace it. If your frame is rusted or chipped, you can always repaint it. This will take a lot of time, but it makes for a fun project and a revitalized bike.
- Check out our article on DIY Bike Restoration here!


