Bicycle touring has exploded in popularity over the last few years – and for good reason!
Whether you’re a dedicated cyclist desperate for a new challenge, a seasoned globetrotter fed up with the long, cramped bus journeys along the same worn-out tourist trails as everybody else, or a casual rider just looking for a unique way to spend a weekend in the outdoors, bicycle touring has something for everyone!
At its best, bike touring combines all the adventure of backpacking, the freedom and achievement of hiking, and the thrill of cycling into one incredible traveling experience.
Bicycle touring can also be challenging. You’ll need to be able to roll with the punches when things don’t go to plan, and there might be times when you rely on perseverance and grit to see you to the finish line.
But as every bike-touring veteran knows, this is all part of the experience – and the freedom of the open road or backcountry trail provides the ultimate cyclist’s payoff!
In this guide, we’ll be giving you the essential overview of the knowledge and gear you’ll need to start planning your own bike touring adventure, including:
- What Actually Is Bicycle Touring?
- How To Plan A Bike Touring Route
- What Gear Do I Need For A Bike Tour?
- How Much Training Do I Need To Do For A Bike Tour?
- Making The Most Of Your Bike Touring Experience!
Ready to take your first steps into the world of bike touring?
Let’s get started!

What Actually Is Bicycle Touring?
At its heart, bicycle touring – also known as ‘bikepacking’ or ‘adventure cycling’ – can be any bike ride that you break up across more than one day.
Don’t be put off by starting small – a gentle weekend spent exploring your home county is just as valid as a multi-month, cross-continent beast of a bike tour!
Though the terms are used pretty interchangeably, ‘bikepacking’ tends to refer more specifically to off-road, self-supported bike trips, whereas ‘bike touring’ and ‘adventure cycling’ are more general, catch-all terms.
Bikepacking
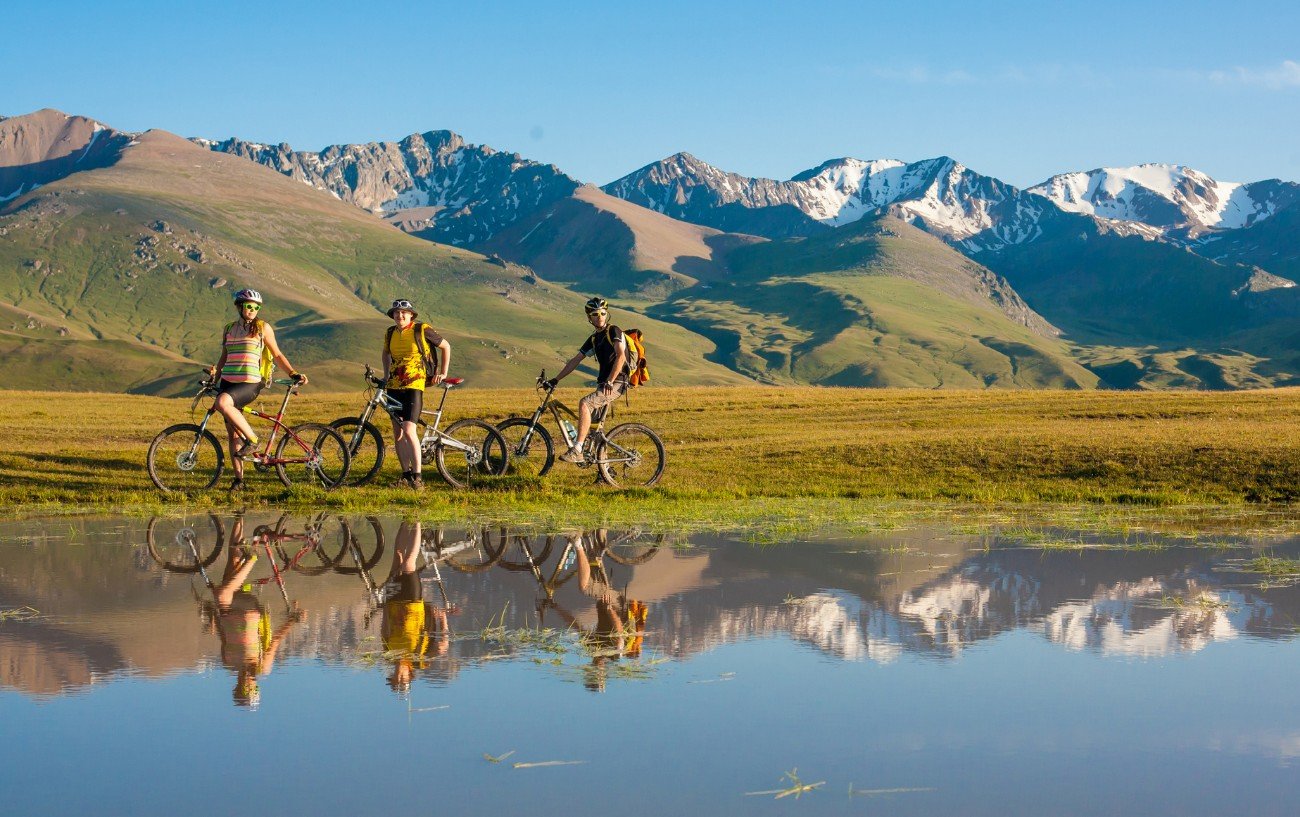
If you’re a keen mountain biker or love hiking trips in the wilderness, a bikepacking tour might be the choice for you!
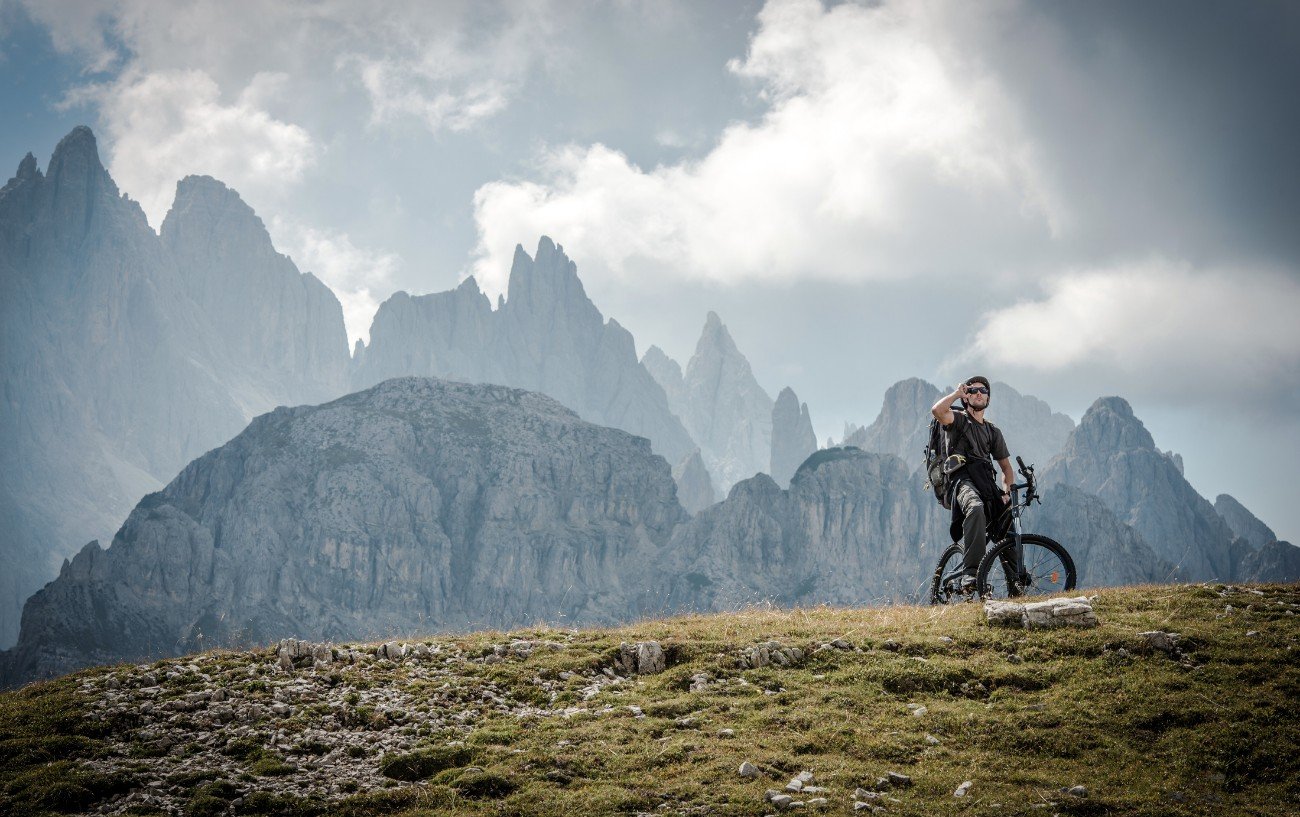
Bikepacking gives you the freedom to leave busy tarmac roads behind, allowing you to explore wild backcountry trails and take a break from the rest of civilization.

It’s worth bearing in mind that bikepacking often involves camping at night – although you’ll be able to find guesthouses along the way on certain routes if you’re not the tent-friendly type!
Road Tours
Bikepacking isn’t the only way to have a great bike tour experience – there are incredible road cycling routes to be discovered all over the world!
Road touring will suit you if you prefer the idea of riding town-to-town on paved roads over diving into the off-road wilderness.
Riding by road also allows you to cover greater distances each day and gives you the option of either camping or staying in guesthouses, depending on your preference.
Organised Tours
If you find the idea of organizing your own trip too stressful, an organized bike tour with a travel company or tour guide might be just what you’re after!

Organized bike tours come in all shapes and sizes. From solo, self-guided backcountry tours with only an envelope of directions and a few pre-determined camping spots, to luxury food and wine-themed group tours between Mediterranean vineyards, it’s worth doing some research to find the one that’s exactly right for you!
How To Plan A Bike Touring Route
Sold on the concept of a bike touring holiday? This is where it starts getting exciting!
Here are our 4 key points to consider when planning the route for your bicycle tour.
#1: Location, Location, Location
When it comes to choosing where to ride for your bike tour, the opportunities really are limitless!
You might prefer to keep it local and plan a route that starts and finishes from your home, but bicycle tours can also be a fantastic way to explore a new country or culture.
There are a few things to weigh up when choosing the location for your bike tour. The first of these are the seasons – you probably don’t want to be dragging yourself through a midwinter blizzard in the Canadian Rockies or the blazing heat of a Turkish summer for your first tour!
For bike tours abroad, you should also consider the quality and safety record of the country’s roads.

Logistics is another important factor. If you’re riding overseas, you’ll need to either ship your bike over with you or rent one when you arrive. You should also decide whether you want to do a circular route that starts and finishes in the same place (which will make renting a bike easier, though some larger companies will let you return your bike at another location for a fee) or a through-route from A-to-B.
#2: How Far Can I Ride Each Day On A Bike Tour?
Every cyclist will be different when it comes to how far you can comfortably ride each day. The best way to know the right distance for you is to test it out for yourself on practice rides!
There is no hard and fast formula for working out how far you should aim to ride, but as a rule of thumb an average cyclist on mostly flat, tarmac roads should be able to manage around 50 miles per day without pushing themselves too hard.
However, there are a vast range of factors that can affect this figure. On a rugged backcountry trail with a lot of elevation, the same cyclist might only be able to ride half that distance – or less.
Other factors which can affect your range include terrain, climate, daylight hours (especially if riding in winter), the amount of weight you’re carrying, and the quality of your bike.

If in doubt, be conservative with how far apart you plan your overnight stops. From experience, I promise you’ll have a much more enjoyable trip if you arrive at your destination with a few hours left to relax with a beer in the evening, rather than waking up every morning with a titanic slog to reach the safety of your next stop before nightfall!
For longer trips, it’s also worth factoring in occasional rest days – we’d recommend at least one in every ten days of riding!
#3: What Kind Of Accommodation Do I Want To Stay In?
Camping is a very popular way to go bike touring, and for good reason!
Avoiding hotels and guesthouses helps keep costs down, and in areas where wild camping is allowed it gives you the freedom and flexibility to pitch up anywhere along your route. You’re also less likely to have problems with campsite availability than you might finding hotel vacancies during peak tourist months.

However, carrying camping gear adds a lot of weight and bulk to the supplies you need to carry. Good quality, lightweight sleeping bags and tents can also get very expensive if you don’t already own them!
If you’d rather have a proper bed to sleep in each night, it’s worth checking out Warmshowers.org, a fantastic community of almost 200,000 cyclists and hosts around the world who provide touring cyclists with a free place to spend a night.
No money changes hands through Warmshowers – instead it relies on goodwill and the willingness of bike tourers to ‘pay it forward’ with generosity towards their fellow cyclists. This can be a brilliant way to travel, as you’ll meet friendly people with great local knowledge, especially when it comes to cycling routes!
#4: How Much Detail Should I Go Into When Planning My Route?
There are a few different ways to approach planning your bike tour route. If you’re lucky enough to have no time restraints, you can sometimes afford to take a relatively laid-back approach, choosing your stops and detours on the fly as you head in the general direction of your finish point.
However, if you know you have to reach your destination within a set amount of time, you’re traveling at a busy time when there’s limited availability for accommodation, or you’re just someone who feels more comfortable when planning ahead, it’s worth going into more detail on the specifics of your route.

Safety should always be a consideration when deciding which approach is right for you. If you’re planning on riding in the wilderness where getting lost could be dangerous rather than inconvenient, or you want to tour in a country you’re unfamiliar with, it’s sensible to plan in more detail.
And, if you’re planning on a solo bikepacking trip deep into the remote backcountry, always share your planned route with another person before you leave so you can be found in an emergency.
What Gear Do I Need For A Bike Tour?
Many would-be bicycle tourers are put off by thinking they’ll need to spend a fortune on a vast amount of high-end gear, but this isn’t necessarily the case!
While it may be wise to invest in some good-quality equipment for longer or more challenging tours, you don’t need a bike that looks like it was birthed by NASA or a wardrobe’s worth of cycling lycra to go for your first easy weekend of bike touring.
If you do decide to buy some new gear for your bike tour, you’ll often find that there are options available for every budget – but as with all things bike-related, pricier usually equals lighter!
With that in mind, here’s our list of the 6 essentials to bring on a bike tour!
#1: Your Bike!
If you’re starting small, the best bike is probably the one you already own!
Waiting until you can afford a flash new bike can easily creep into procrastination. As long as your bike functions well enough to be enjoyable to ride for a few hours in a day, don’t let it hold you back from setting off on your first (short) bicycle tour!

For any tour longer than a couple of days or over difficult terrain, however, investing in a decent bike is recommended. Attempting a more ambitious tour on a bike that just isn’t up to the job will inevitably become infuriating.
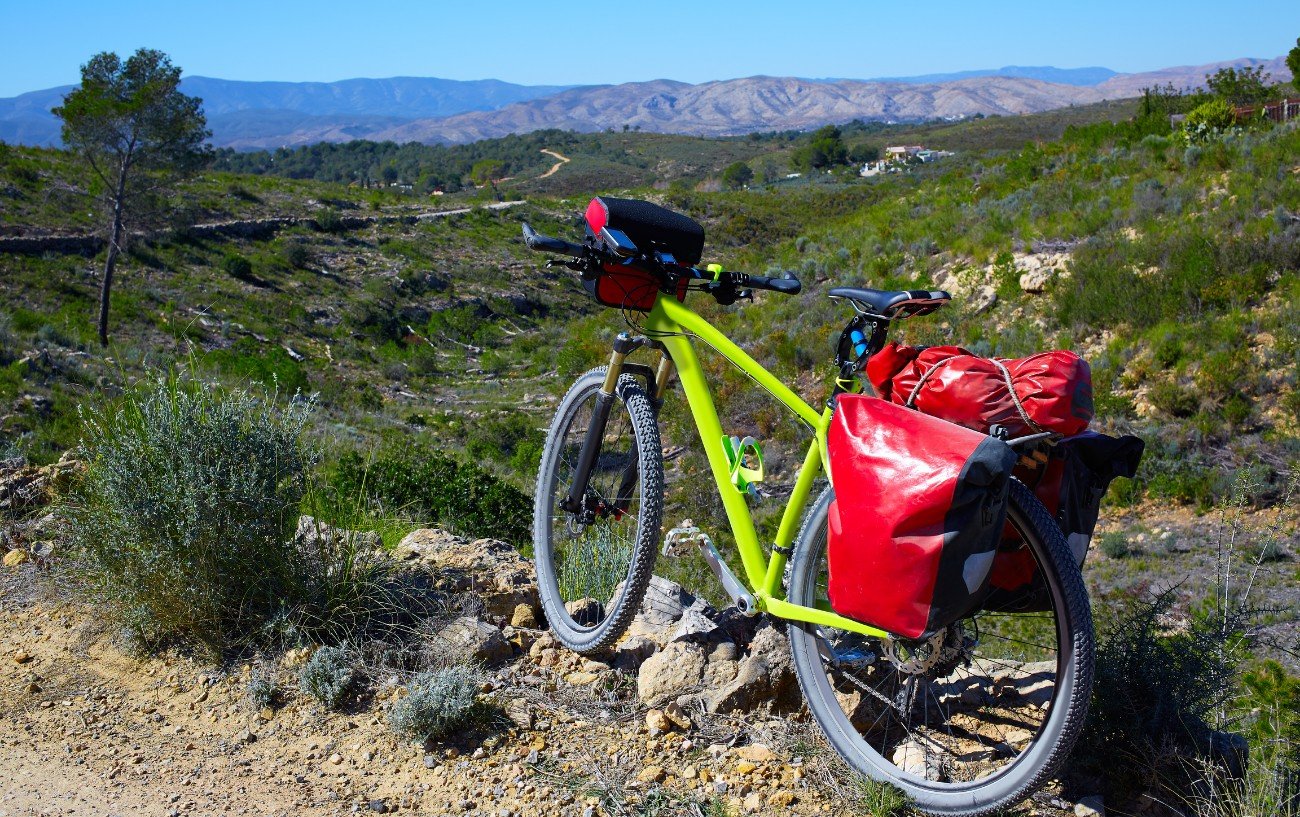
The best choice of bike really depends on the route you’ve planned. For off-road bikepackers, you’re best off with a mountain bike.
Other factors should influence the characteristics of the mountain bike you choose – if your bikepacking route is particularly technical, full suspension is advisable, while sandy or wintery conditions will be made more manageable by bigger tires.
For road tours, a dedicated touring bike is usually the best option.
Touring bikes are – unsurprisingly – specifically designed with bike tours in mind. Though it’s possible to do a road tour on a road bike, there are a few key differences between the two that make touring bikes better suited to the job.
While road bikes prioritize speed and weight at all costs, touring bikes favor comfort and durability. They tend to have more upright seating positions, attachment points for panniers, and some have ‘butterfly’ handlebars which give more options for changing riding positions during long stints in the saddle.
Their frames are usually made of steel instead of the aluminum or carbon used for road bikes. This adds weight, but makes them stronger and more stable. They also tend to have wider, thicker tires, a lower center of gravity, and lower gear options for spinning up inclines while fully loaded.
#2: Basic Repair Kit
Deciding what to include in your bike tour repair kit is a balancing act between necessity, weight, space – and perhaps a touch of paranoia!
On longer tours, you’ll inevitably encounter a wider range of mechanical problems, so it makes sense to add a few extras, but you’ll still want to keep your repair kit as minimal as you realistically can.
Here’s our list of the 7 essentials that should be in your repair kit for every bike tour!
- Spare Inner Tubes (check out our guide to replacing an inner tube here!)
- Tire Levers
- Inner Tube Patch Kit
- Cyclist’s Multi-Tool with Chain Tool (take a look at our guide to repairing or replacing a chain here!)
- Pliers
- Bike Pump
- Heavy-Duty Sticky Tape
#3: First Aid Kit
Another necessary inclusion filed under the ‘hope for the best, prepare for the worst’ category.
You can build your own, but it’s normally cheaper and easier to buy a pre-packaged first aid kit. Try to find one that’s not too bulky, and beware of the cheapest kits as they’ll often have poor-quality components, such as plastic tweezers.

Add painkillers if your kit doesn’t include them. If you’re bike touring in a foreign country with food you’re not used to, throw in a pack of Imodium as well – you won’t regret taking up the extra space if you end up needing them!
#4: Mobile Phone And Portable Charger
Bringing a mobile phone is vital, both for directions and in case of emergencies.
If you’re bikepacking away from paved roads, it’s worth downloading a proper backcountry navigational app – GAIA GPS is a particular favorite with mountain bikers!
Portable chargers are also a necessity. Solar-powered chargers are particularly handy for bike tours, especially if you’re camping!
#5: Storage Space
These days, it’s possible to buy cycling bags that attach to just about every part of your bike.
Ideally, you want to have enough storage space attached to your bike that you’re able to ride without a backpack – but that won’t always be possible, especially if you’re planning on camping.

Most importantly of all, remember to have at least two bike attachments available for holding water bottles!
#6: Cycling Shorts
The one truly essential bit of clothing for a bike tour is cycling shorts.
Cycling shorts are designed to help protect you from chafing and saddle sores, and are padded to ease the pressure pains in your nether regions during long stints in the saddle. Chamois cream will also help protect against the dreaded chafing.
Attempt a bike tour without them, and you’ll quickly understand why we consider them an essential!
How Much Training Do I Need To Do For A Bike Tour?
This is another one that really depends on how long your bike tour is and how intense you plan for each day’s ride to be.
For a gentle one-nighter, you probably don’t need to train at all as long as you feel like you’re up to the challenge. If you’re planning a cross-continent, 150-mile-per-day ultra-tour, you’ll obviously need to get yourself in pretty good shape!
To prepare for longer tours, build up your distances until you can comfortably go the average distance you’ll need to cover each day in a single ride. Make sure you do a few rides on consecutive days to prepare yourself for that element of bike touring too.

You should also make sure you do at least some of your training rides fully loaded with all the gear you’ll be packing on your bike tour. The added weight will inevitably make inclines harder, so it’s worth making sure you’re prepared.
Riding fully loaded will also give you a chance to troubleshoot any potential problems with your setup. There’s a golden rule followed by marathon runners which ought to be stolen by bicycle tourers too: don’t try anything new on race day!
Another element of bike tour preparation that ought to be filed under ‘training’ is making sure you’ve learned the basics of maintaining your bike.
You don’t need to become a fully-fledged bike-maintenance pro, but there are still a few essential skills to have under your belt before you hit the road. These include:
- Putting a bike chain back on
- Removing, patching, and replacing an inner tube
- Adjusting your brakes
- Changing the position and height of your saddle and handlebars
- Adjusting your derailleurs
Make The Most Of The Experience!
With your route planned and your gear packed, it’s time to get riding!
There will be highs and lows on every bicycle tour, but being adaptable and keeping a cool head when things go wrong will take you a long way!

Our final parting advice to make the most of your bike tour: don’t be afraid of having a chat with the locals!
People will always take an interest in your trip and ask questions about your bike, and it’s a great opportunity to get some insider tips on the local area – and you never know when you might end up with an invitation for a meal, some help with a translation, or even a tip-off about a street party in the village!
Like all great journeys, being open to these chance encounters can often lead to the most memorable and rewarding experiences of a bicycle tour!


