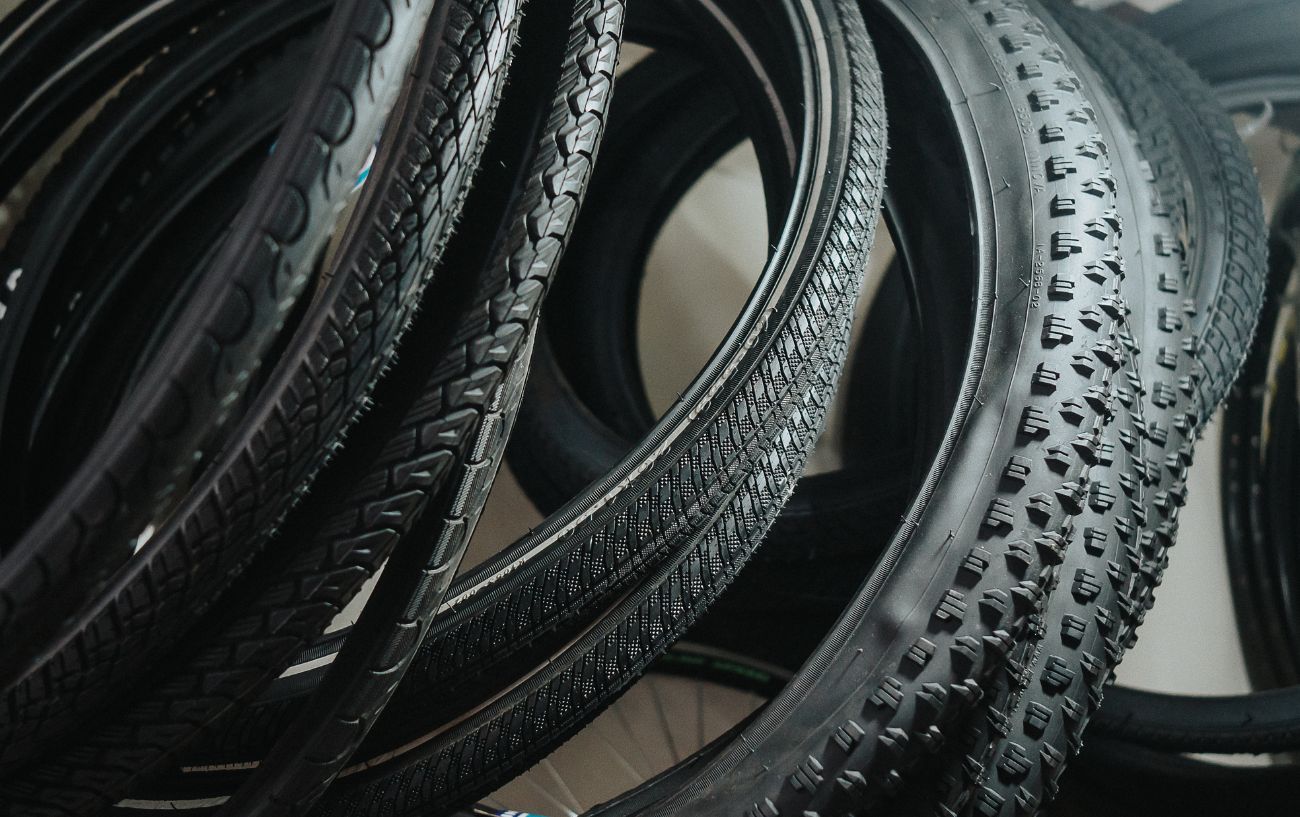
If you’re new to cycling and want to develop your knowledge, there are three main types of bike tires to get familiar with: clinchers, tubular, and tubeless.
When considering the pros and cons of clincher vs tubular vs tubeless tires, there’s a lot to weigh up.
To help you get to grips with these three key bike tire types (and how to install and replace them), we’ll be covering:
- What Are Clincher Tires?
- What Are Tubular Tires?
- What Are Tubeless Tires?
- Tubular Vs Tubeless Tires: What’s The Pro’s Choice?
- Clincher Vs Tubular Vs Tubeless: Which Tires Are Right For Me?
Let’s dive into the clincher vs tubular vs tubeless debate!

What Are Clincher Tires?

Credit: Deerwood, CC BY-SA 3.0, via Wikimedia Commons.
Clincher tires are the most popular and widely used type of tire for road bikes.
Clinchers have “beads”, which are a pair of metal cables running around the edge of the tire to hook into place on the rim of the wheel.
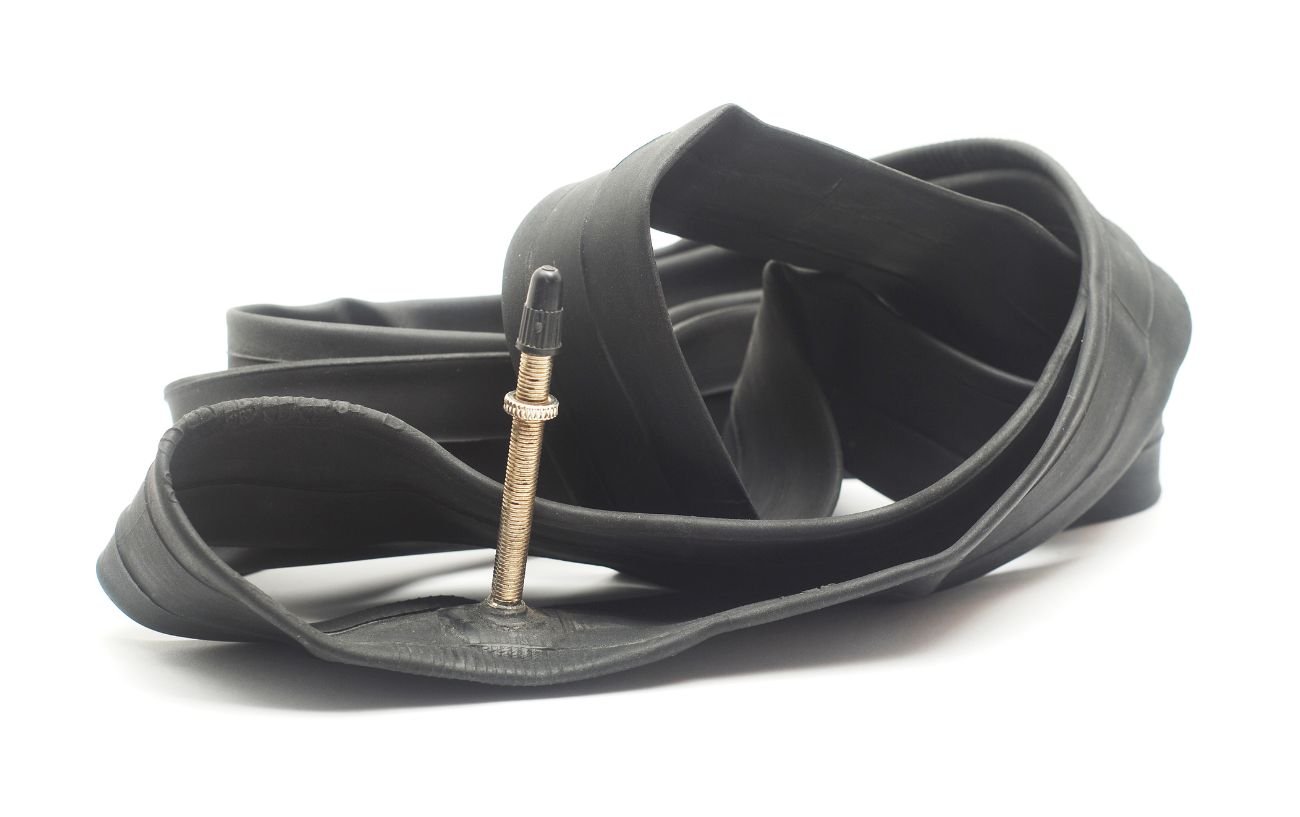
The inner tube is inflated and sits inside the clincher tire, around the rim.
The inner tube is entirely separate and can be removed and repaired or replaced in the event of a puncture.
Punctures are fairly common when riding with clinchers. They’re by far the most puncture prone of the three types of bike tires.
The repair process is fairly straightforward and can easily be done at home or out on the road.
Clinchers are also affordable, and there are a wealth of manufacturers to choose from.

How Do You Change Clincher Tires?
Clincher tires are by far the quickest, cheapest, and easiest tires to change in the event of a puncture.
The tire’s bead is unhooked on one side using tire levers, so the deflated inner tube can be pulled out.
A new inner tube is then lined up onto the rim and the outer tire is re-levered over the top. Finally, the new inner tube is inflated inside the tire.
It’s straightforward once you’ve done it a few times, and can be done on the side of the road in a few minutes.
- Check out our Complete Guide to Changing an Inner Tube here!
What Are Tubular Tires?
Unlike clincher tires, the inner tube of tubular tires – or “tubs” – is not a separate piece.
Instead, the inner tube is integrated into the tubular tire so they come as a single unit. Because the inner tube is stuck to the tire they’re sometimes called “sew-ups.”
Tubular tires can only be fitted to tubular-specific rims. They’re glued onto the rim using an adhesive or rim tape.
When weighing up tubular vs clincher tires, “tubs” have some serious advantages:
- Tubular tires are around 100 grams lighter than clinchers. This means they’re quicker to accelerate and decelerate, better for climbing, and less prone to “snake-bite” punctures.
- Tubular tires run more smoothly than clinchers. This makes them faster and more efficient over long distances.
- They’re the conventional tire for professional racing.
However, there are also significant drawbacks to “tubs” compared with clinchers, which is why we don’t all ride around on tubular tires.
In the event of a puncture, replacing a tubular tire is much trickier and more time-consuming.
The tires must be removed from the wheel, and more adhesive applied to the rim before fitting a new tubular tire – which is in itself a notoriously frustrating procedure.
Replacing a tubular tire isn’t a realistic option when you’re out on the road.
So unless you fancy riding with a spare wheel strapped to your back, you’re usually best leaving tubular tires for racing – and even then only if you’ll have access to a replacement wheel in case of a puncture.
Without a support team, you might be creating more problems for yourself than you’re solving.
How Are Tubular Tires Changed?
First, the rim has to be sanded down to set for a new layer of glue. Glue is then smeared onto the surface of the rim, and onto the rim-facing side of the tire.
This first coat has to fully dry and a second is applied before the tire is ready to install. The tire is then mounted using tire levers and inflated, similar to a clincher.
This process is time-consuming, and once finished, it’s very difficult to remove the tire.
Home mechanics typically don’t bother with tubular tires as the installation process simply isn’t worth the hassle.
It’s a different story for the pros with dedicated support teams, for whom every second counts.
What Are Tubeless Tires
Finally, we have the new kid on the block: tubeless tires.
Tubeless tires have been popular in mountain biking for years, and have recently moved across to road cycling.
Unlike clinchers and tubulars, tubeless tires don’t have inner tubes at all.
Once mounted to a tubeless-compatible wheel rim, a tubeless tire is airtight and can be inflated directly – without the need for an inner tube.
Crucially, tubeless tires can be run at lower pressures without affecting the stability of your bike or increasing the risk of pinch flats.
Tubeless tires are also very puncture-resistant.
They’re typically installed with tire sealant. This is a liquid that’s poured or injected into the tire during fitting which fills any punctures as they appear and dry rapidly, plugging the hole.
If you get a puncture too severe for the sealant to plug, you can usually install an inner tube for a quick fix during a ride.
Tubeless tires also have the least rolling resistance of the three types of bike tires.
Rolling resistance is the force lost as your tire rolls over a surface. The lower your rolling resistance, the less speed you’d lose along a flat surface without pedaling.
Tubeless tires have the lowest rolling resistance because there’s no friction between the tire and the inner tube.
Tubeless tires are designed to be compatible with tubeless-specific rims – although there are conversion kits for clincher rims available.
How Are Tubeless Tires Changed?
Changing tubeless tires is a similar process to clinchers, but with the added challenge of rim preparation and sealant installation.
The old tires are deflated and levered off of the rim, taking care not to spill the old sealant left inside.
If the wheel hasn’t been set up tubeless before, it needs to be prepared by applying rim tape to make the rim airtight.
The new tire is then fitted halfway onto the rim, leaving a space for fresh sealant fluid to be poured or injected into the tire.
You then fit the other side of the tire and inflate it rapidly to push it into place.
The tire is then turned or rolled slowly to allow the fluid to spread to all edges and is left to set. this can take minutes or days depending on the type and make.
The process of installing tubeless vs clinchers tires is much more time-consuming, which can be a dealbreaker for casual cyclists.
However, for serious cyclists, the puncture resistance, weight reduction, and ability for lower pressures make tubeless tires well worth the effort – especially when you consider they’ll need changing less regularly than clinchers.
Tubular Vs Tubeless Tires: What’s The Pro’s Choice?
Tubular tires have long dominated the professional peloton.
However, there’s something of a shift underway among pro cyclists, and the racing tire of the future may well be tubeless.
In the 2022 Tour de France, teams used both tubular and tubeless tires from day to day depending on the stage profile. Stages 2, 6, and 7 of the 2022 Tour de France were won on tubeless tires.
Five years ago this was unheard of.
The major limitation for a professional weighing up tubular vs tubeless tires is in the mountain stages.
Tubeless tires are heavier than tubulars. On a mountain stage when every gram counts, this consideration outweighs puncture protection and rolling resistance.
Tubular tires perform better at high tire pressure, which is preferable when climbing. The higher pressures typically used on mountain stages also negate the benefit of a tubeless tire’s ability to run at low PSIs.

Clincher Vs Tubular Vs Tubeless: Which Tires Are Right For Me?
Tubular tires are tricky to use (and quite hard to get hold of in the first place), so they’re not a sensible option for casual cyclists.
That leaves us to weigh up tubeless vs clinchers.
Clinchers are the more convenient option. There are a wealth of new and used clincher wheels and inner tubes to choose from and they’re much more likely to fit your existing kit.
There’s a reason they’re the sport’s most common tire. You sacrifice a lot of practicality with the gains made in speed and feel with other types of bike tires.
However, if you’re a serious cyclist looking to make an upgrade, switching to tubeless tires could make a lot of sense.
The lower pressures tubeless tires allow you to access can improve the feel, speed, and comfort of your rides, while the puncture resistance will end up saving you time and hassle in the long run.
Tubeless tires and compatible wheels are becoming increasingly available and convenient as technology migrates over from the world of mountain biking.


why does the general chart go up in 2mm increments?
i am looking for new rims and they are quoted at 18mm internal width i am think of 32 mm Schwelbe marathons i assume they will be ok but am guessing the jump is between 17 and 19
Hi Marcus, we went with the 2 mm increments to try and keep the chart to a manageable size and because those are the slightly more common sizes used by manufacturers – apologies that it made the chart more confusing for you in this case! I would have said 32 mm tires should be fine on rims with an 18 mm internal width. That’s probably about the upper limit for optimal performance, but I wouldn’t have thought it would cause problems provided your frame has adequate clearance for tires that wide.
Best,
Rory
BikeTips Editor