Let’s be honest with ourselves: bike seats can hurt.
After hours of sitting your body weight on the saddle, everyone should expect to be a little sore.
Narrow bike seats can be uncomfortable, and studies show narrow cycling saddles cause more problems than wider bike seats for your body.
However, narrow saddles are often essential in road, track, and mountain biking.
So if the narrow bike seat isn’t going anywhere, it’s important to make the best of the situation and learn how to make a bike seat more comfortable.
In this article, we’ll be covering:
- Causes of seat discomfort
- How to make a bike seat more comfortable: 8 Essential Tips
- The most important Step Of All: Experiment!
Ready to get to grips with how to make a bike seat more comfortable?
Let’s get started!
4 Key Causes of Seat Discomfort
Long stretches in the saddle can leave you feeling sore and achy in your upper thigh, groin, and bottom areas.
Extreme cases of seat discomfort will also result in the dreaded saddle sores, and studies show that long hours in the saddle exert pressure on the vital nerves and arteries of the perineum which can cause problems with sexual organs for both men and women.
But fear not!

#1. Improper Bike Set-up
Incorrect bike frame size, seat height and set-up, and handlebar height might mean your legs and arms cannot properly support your body in the saddle.
Alternatively, if you have to lean too far forwards to reach the handlebars, you won’t be able to sit correctly in the saddle for the duration of a ride.
Both of these will cause seat discomfort. Incorrect saddle height can also put you at greater risk of a knee injury.
Read on for an explanation on how to properly set up your bike to minimize seat discomfort.
#2. Friction
The friction generated between the seat, your clothes, and your skin will cause sores and uncomfortable pulling. It’s important to dress properly to minimize friction on your seat.
#3. Form
It’s vital to cycle with proper posture and form to reduce bike seat discomfort.
Discomfort can be caused by dumping too much of your body weight onto the saddle. A study by the National Institute for Occupational Safety and Health found that police officers on bicycles who exerted more pressure on their saddles had worse perineum issues than their colleagues.
So, it’s important to maintain an even distribution of weight across the saddle, pedals, and handlebars.
You should also try to rest your weight on the widest part of the saddle through your body’s “sit bones“. You can do this by making sure not to lean too far forwards toward the handlebars.
#4. Fatigue
A final important point to note is fatigue.
Over time, fatigue ruins your form. Your body gets tired, so you stop properly supporting your weight with your arms and legs and sitting properly on the seat.
So when planning cycles, especially if you’re a beginner or returning after a hiatus, make sure to cycle within your limits. Making extra miles up might feel good at the time, but consider the unnecessary saddle pain you’ll cause yourself in the coming days.

How to Make a Bike Seat More Comfortable: 8 Essential Tips
#1. Choose the right seat
The most obvious step of all: make sure you choose a saddle that works for your body.
When choosing your saddle, make sure the seat is wide enough to properly support your sit bones, whilst having a narrow enough nose to allow an uninhibited range of motion.
This way you can sit on the widest part of the saddle, at the back behind the nose. Women will typically fit wider seats than men due to pelvic differences.
Seat covers are also a great option to pad the saddle and reduce pressure. If you’re interested, check out our Guide To Saddle Pain on Peloton Seats for seat cover recommendations.
It’s worth noting that light padding is usually preferable to heavier padding, which can increase excessive friction.

#2. Make sure your bike is the right size
It’s vital to make sure your bike frame is the right size for your body so you can properly place the seat.
A bike’s frame size is the length between the top of the crank and the top of the seat tube. As a rough guide for finding the right frame size for you, multiply your inseam length by 0.7x for road bikes, and 0.66x for mountain bikes.
For more information on getting your frame size right, check out our Complete Guide To Measuring A Bike Frame here.
#3. position Your Seat properly
This step takes a certain amount of trial and error, as you’ll need to listen to your body and making adjustments accordingly.
As a rule of thumb for road cycling, the saddle should sit one inch higher than the handlebars.
Your knees should also be slightly bent at the bottom of your pedal rotation and it is essential that your hips don’t rock as you pedal. This means your feet can bear a portion of your body weight, rather than placing it all onto the saddle which will cause discomfort.
Whilst positioning your seat, make sure you pay attention to the minimum insertion line of the seat post.
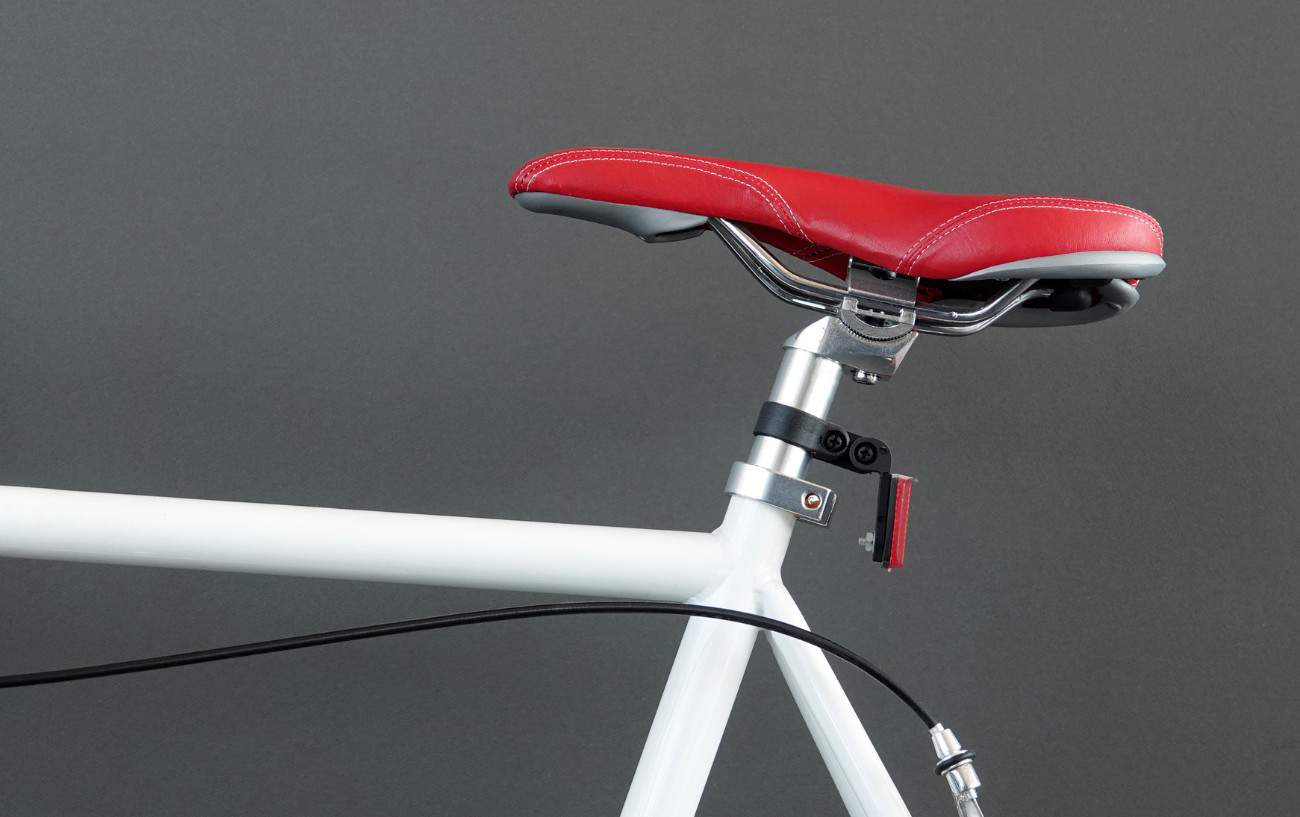
It’s important to angle your seat properly by loosening the clamp below the saddle. You’ll also need to ensure your bike seat is aligned parallel to your frame.
For an in-depth explanation on setting up your bike seat correctly, check out our Complete Guide To Bike Seat Height here!

#4. position Your Handlebars properly
Managing saddle pain means reducing the amount of weight placed on the seat.
It’s therefore vital to ensure your handlebars are placed to be able to take 20-30% of your total body weight.
It’s also important to make sure you can comfortably lean forwards to grip the handlebars with slightly bent arms from your seat. You’ll have problems if you have to shift along to the narrower nose of your seat to properly grip the handlebars.
To get to grips with the various options for your handlebars, check out our Complete Guide To Bike Handlebars here!
#5. Maintain good cycling Form
With your bike properly set up, it’s vital to maintain good cycling form.
Spread your weight across your seat, the pedals, and the handlebars. This ensures a manageable load is taken by the bike seat.
You also need to keep your sit bones on the widest part of the bike seat, whilst the nose is left to support as you pedal.

#6. dress correctly
Proper cycling attire will reduce friction and pressure on your bike seat.
A good pair of padded cycling shorts ease the pressure from your saddle and are made of friction-resistant materials.
Bear in mind that you shouldn’t wear any other layers above or beneath the cycling shorts. Going commando reduces any unnecessary friction between clothing layers, and is how cycling shorts are designed to be worn.
It’s vital to wash your shorts regularly to stop sweat and grime from previous rides creating more friction in your shorts – as well as the obvious hygiene concerns!
Applying chamois cream before rides is also a great way to reduce friction and prevent sores.
#7. Don’t overexert yourself on the bike
When planning rides, ensure you stay within your limits so as not to overexert yourself and let your form slip.
Check out our article on the risks of overtraining for more information on recommended length, frequency, and intensity of your rides.
#8. A short guide to aftercare & Recovery
Pain caused by your saddle can often be managed with proper aftercare and recovery.
Effective stretching after rides will improve recovery. This will help achieve consistency in your cycling performance, which should prevent pain caused by improper form.
If you’re open to some tough love for your body, foam rollers and massage balls can also be effective in managing saddle-related pains. They encourage blood flow and ease inflammation in sore muscles and tissues which will help healing and recovery after rides.

The most important Step Of All: Experiment!
Perhaps the most important tip of all is that everyone is different, and making your bike seat more comfortable will come through trial and error.
It is also important not to implement lots of big changes all at once, but instead to make small adjustments ride to ride to identify what works and what doesn’t. Try changing your set-up in small increments and find what works for you.
Found This Article On How to make a bike seat more comfortable Useful? Check Out More Of Our Expert Guides Below!


