Crashing is an occupational hazard, and every cyclist will have their own war stories.
My own crash resume includes slamming my face on the cold tarmac after hitting a patch of black ice, cycling straight into the back of a car that decided to check its brakes on a wet road, and skidding on my backside through a slick corner.
Each of these crashes was hard on my aging body – but perhaps harder on the mind.
In this article, we examine the 6 vital steps for cyclists who’ve fallen off bikes, from taking care of the immediate situation to dealing with the longer-term issues that can make getting back out on the roads daunting.
Let’s get into it!
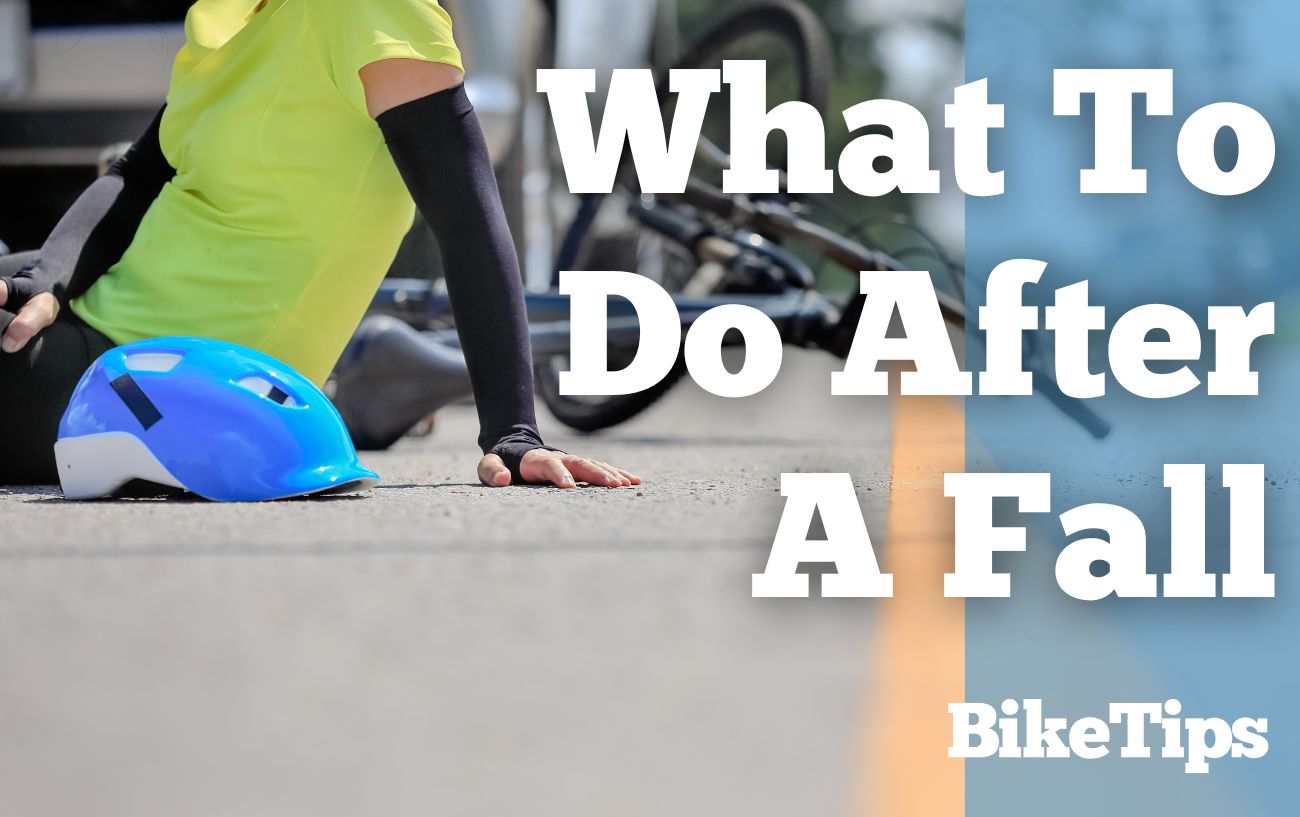
Check For Injuries After a Bike Fall
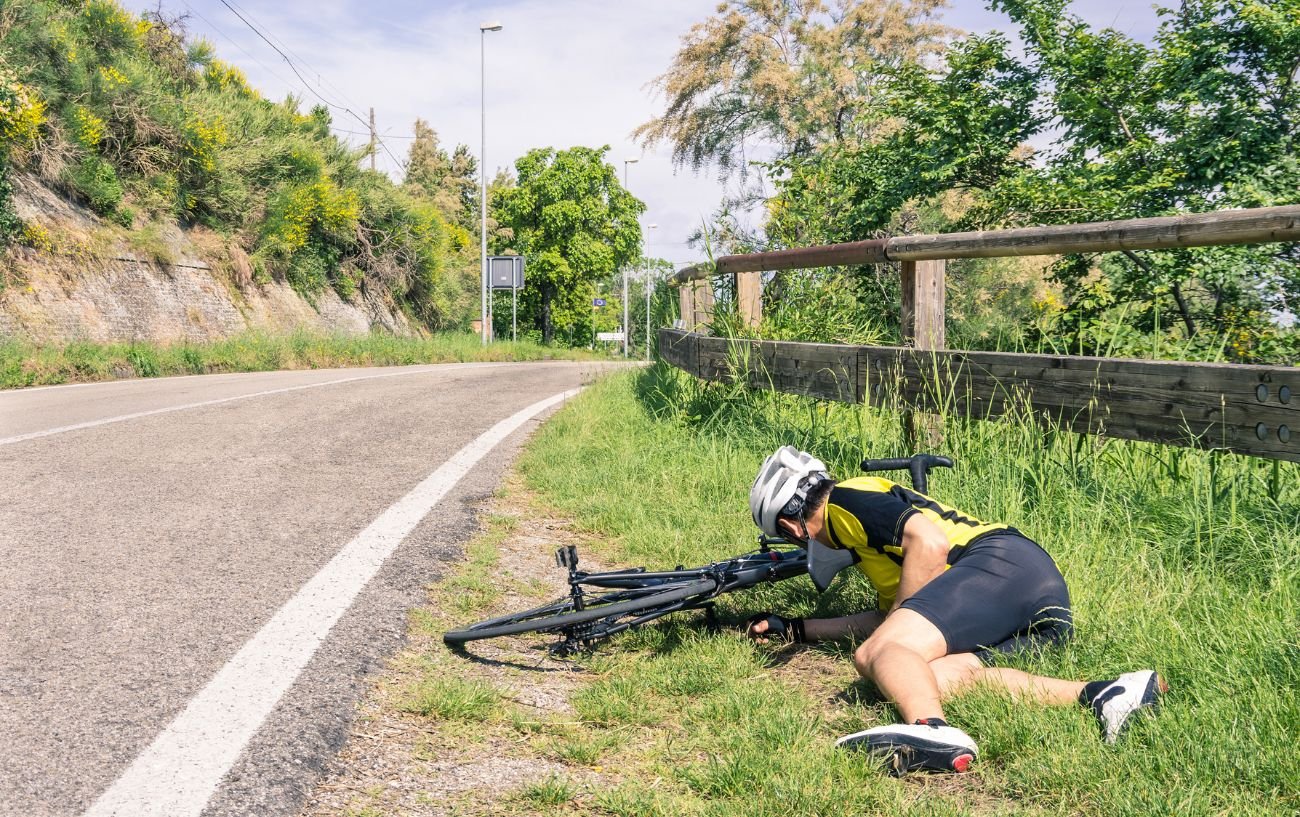
If you have just fallen off your bike, the first thing you should do is assess your situation and, if you have had a bike fall on the road, make sure you are out of the way of any traffic.
Find somewhere safe at the side of the road or trail before you start assessing any injuries and damage to your equipment.
After crashing, your body will be in flight-or-flight mode, and the adrenalin will be pumping. It is important to deliberately slow yourself down and take your time to fully assess the situation.
In the immediate aftermath, this surge in adrenalin might make it seem like you have survived unscathed, but it can also mask real problems.
Be sure to:
- Check your body: Once you are clear of any immediate danger, check your body. Is there bleeding? Are any potential bones?
- Did you hit your head? If you feel groggy or disorientated, then there is a good chance that you have suffered a concussion, a result of your brain moving suddenly in the skull. The brain is a very delicate computer, and concussions should not be taken lightly.
Signs of concussion include blurred vision, dizziness, a feeling of nausea and vomiting.
Before you even think about getting back on the bike and continuing, you should check that you can first walk around.
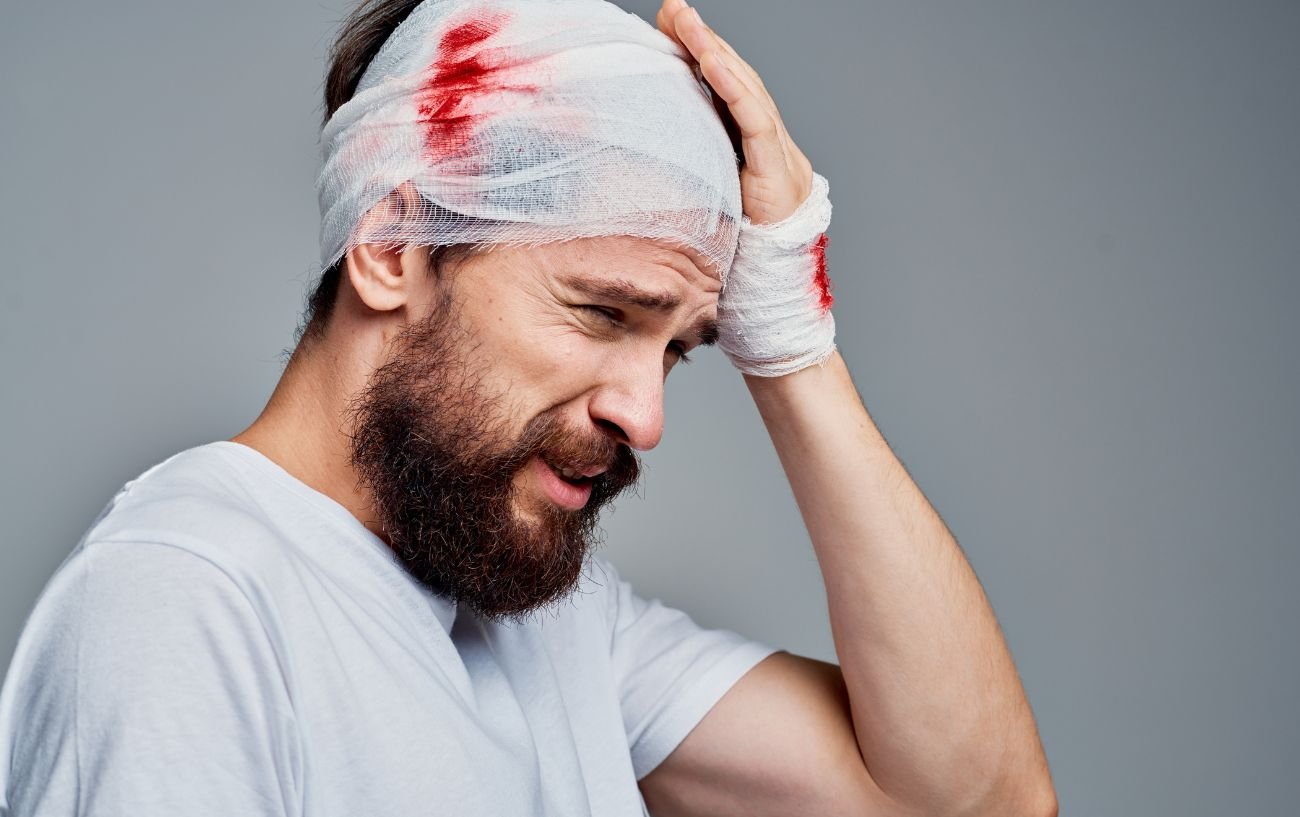
Seek Medical Attention If Required
If having properly assessed your injuries, there is no way that you can get back on your bike, then it is time to start thinking about seeking proper medical attention.
Thankfully most of us would never dream of going out for a cycle without a smartphone, but it is important that you make sure that you have enough charge when you leave the house, especially if you are doing an epic solo ride.
I use a front light that also doubles as a spare battery pack for those longer days in the saddle.
All you need to do is stick a cable in your jersey pocket, and you will have extra juice if required, as well as an emergency front light if you have to limp home as dusk rapidly approaches.
Know where you’re going
If you are riding somewhere unfamiliar, the what3words app should be on your home screen.
The makers of this application have divided the entire surface of the planet into three-meter squares, and each of these squares has a unique combination of just three words.
By sharing these three words, emergency services can find you much quicker.
As with any dangerous activity out in the middle of nowhere, it is always a good idea to tell someone where you are going and how long you will be away. This can act as a last line of defense if your phone is broken or you have no signal.
You can also share your live location through tracking apps such as Strava and Garmin Connect so that invited people can check on your progress.
Some head units, newer Garmin Edge devices, for example, even have a crash notification feature that automatically detects if you have been involved in an accident.
They will then ping your location to your nominated emergency contact. They have built-in features that allow riders to override the notification if no assistance is required.

Check Your Equipment
If you have escaped without any major injury, the next step is to see if your equipment has been as fortunate.
Here are 3 crucial checks to make:
#1: Frame
Lightweight carbon layups have revolutionized bike frame design, but compared to aluminum and steel frames, they can be extremely susceptible to a crash.
Although lightweight, carbon fiber composite materials have an extremely high strength-to-weight ratio making them ideal for bikes. Their Achilles’ heel, though, is their vulnerability to point stress loads.
An impact during a crash can weaken the woven fibers that hold the carbon together. Check for cracks, no matter how small, before getting back on the bike, as you could be inviting danger further down the road.
A good rule of thumb is that if the paint is cracked, then there is an equally good chance that the carbon around it is damaged too.
#2: Components
Before setting off again after a crash, check the brakes and gears are in working order.
The rear derailleur is particularly vulnerable after a crash. If it has taken a knock, changing gears could be an issue, but you should still be able to get the bike moving.

#3: Wheels
Falling on bikes can put a lot of stress on the wheels.
Carefully check the condition of both wheels, paying careful attention to the braking surfaces and the condition of the tires.
Spin the wheels and check if they are rubbing off the brake pads. If they are, then you will want to try to true the wheel as best you can with the spoke tightening tool lying at the bottom of your saddle bag (it’s there, right?).
Pluck the spokes to find the culprit and slowly tighten them until they make the same noise as the undamaged spokes. There is an element of trial and error here, and you will never get it perfect at the side of the road.
We don’t need perfect we just need it to work enough to get home and stop the brakes rubbing. If you need to, loosen the brake calipers so they don’t rub against the wheel.
Obviously, ensure that the brakes still work when called upon, or you will be on the floor again.
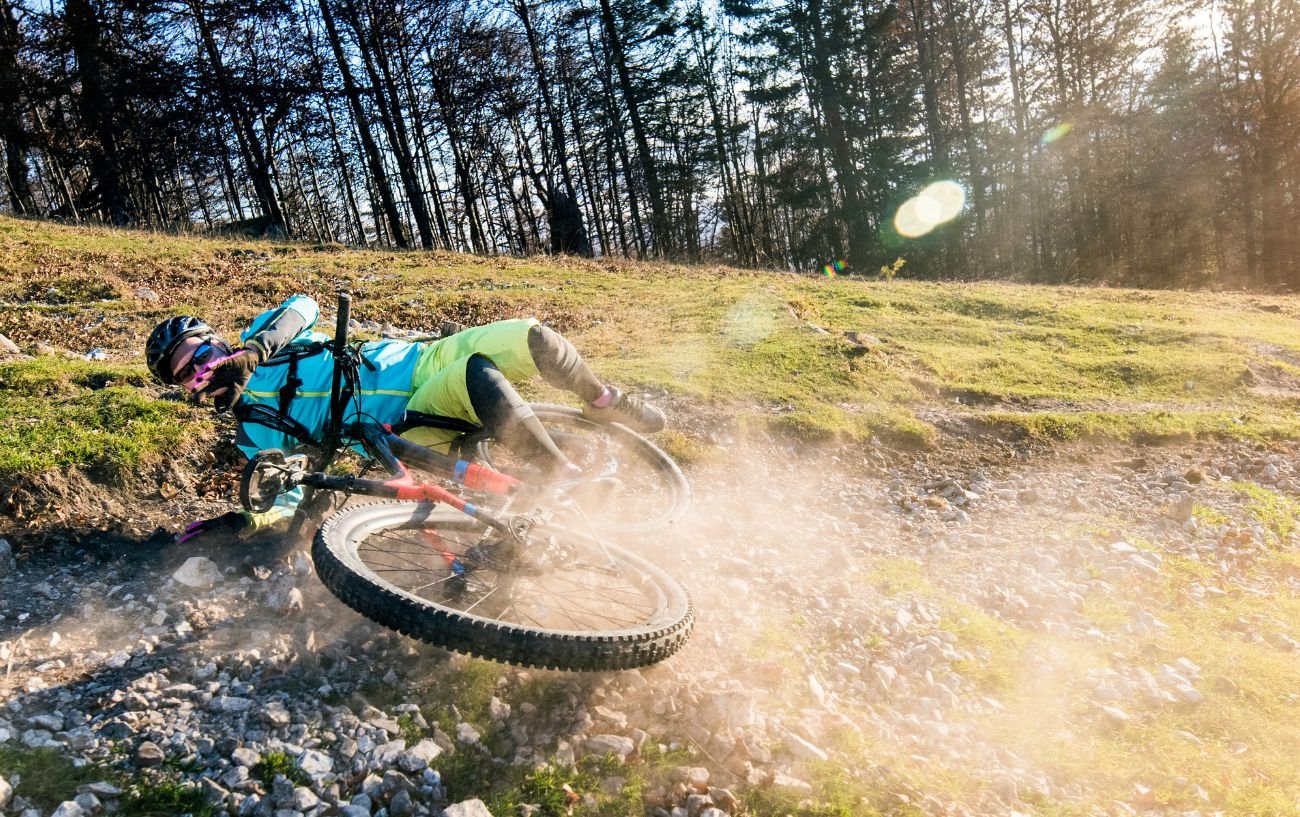
Fallen off bike: Post-Crash Recovery
Even if you have made it home in one piece, it is important to get any injuries properly checked out.
Road rash is one of the most common injuries from a crash, and although painful, it can usually be treated effectively at home.
We reached out to Dr. Sean Ormond, certified in Interventional Pain Management, to guide riders in the best way to treat road rash. Here are his key steps:
- Clean the wound. The first step in treating road rash is to clean the wound thoroughly with soap and water. This will help to remove any dirt, debris, or bacteria that may have gotten into the wound.
- Remove any loose skin. If there is any loose skin around the wound, it is important to remove it. This will help to prevent the wound from becoming infected.
- Apply antibiotic ointment. Once the wound has been cleaned and any loose skin has been removed, apply a thin layer of antibiotic ointment. This will help to prevent infection and promote healing.
- Cover the wound. It is important to cover the wound with a bandage to protect it from further injury and infection.
- Change the bandage regularly. The bandage should be changed at least once a day or more often if it becomes dirty or wet.
- Watch for signs of infection. If the wound becomes red, swollen, or painful, or if it starts to ooze fluid, it may be infected. If you see any of these signs, it is important to see a doctor right away.
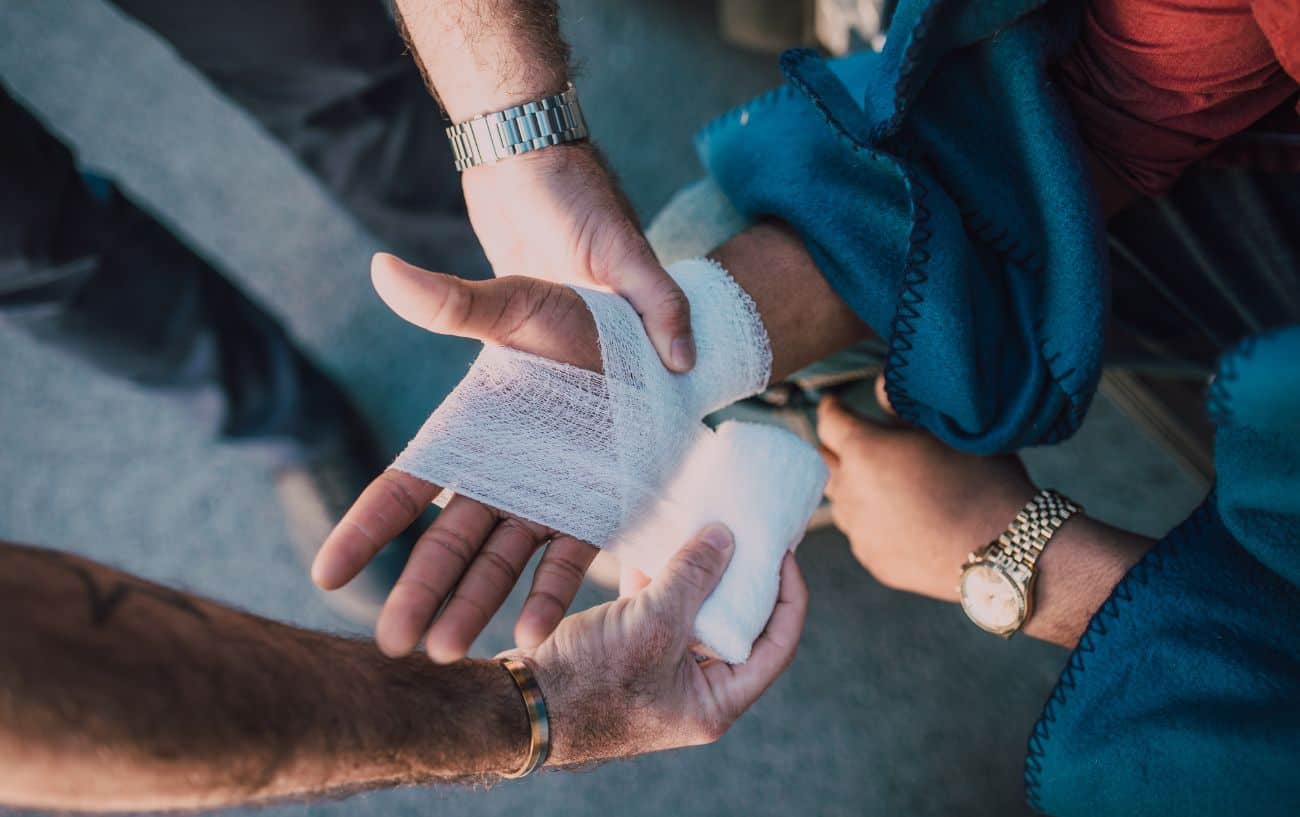
Don’t suffer in silence, as any delay will really impact your recovery time off the bike.
Crashing affects not just the body but also the mind, and a lot of riders, myself included, tend to replay the incident over and over in our heads.
Beyond the physical injuries, anyone that has been involved in a crash, no matter how innocuous, knows that it can have a serious effect on your confidence.
It is important to take things slowly and build your confidence back up again. Focus on all the things that you love about cycling and all the benefits. Exploring new places, pushing your body, clearing your head, café stops with friends, nabbing a KOM.
If your body is still recovering, but you feel ready to try some cycling again, why not start with some indoor training?
When you do feel ready to hit the roads again, take it easy.
Cycle on your own terms, and don’t worry about trying to keep up with other riders if you are cycling in a group on descents and through corners.
Gradually, your confidence will return, and you will start to feel like the rider you were before the crash.

Fail to Prepare, Prepare to Fail
Having the right spares and tools with you on every bike ride could mean the difference between pedaling home or having to make a pleading call for a lift.
Keep a small saddle bag on your bike with a couple of spare inner tubes, good-quality tire levers, a multitool, and a mini pump. These should help you out in most situations.
If you are really going off the beaten path on an epic bike backing adventure, then you will want to pack a basic first aid kid with bandages and gauze.
Know how to use your equipment so that you don’t panic when you crash in real life.
It is also a good opportunity to mention dedicated bike insurance since crashes are not usually covered if you simply include your bike on your home insurance policy.
Depending on the level of coverage, these bespoke insurance policies can cover the replacement of expensive bikes and components and even medical bills if required.
Prevention is Better Than a Cure
Cycling on trails and roads can be unpredictable, and at times there is nothing we can do to avoid a crash.
Turning a corner on a steep hill a few years ago, I was barreling towards a rather dim-looking sheep in the middle of the road.
When it saw my colorful Lycra, it panicked and moved just enough to the side to let me pass. On another day, it might have panicked in the opposite direction, and I would have left plenty of my pale Scottish skin on that particular rural hillside.
Here are three steps we can take to help us stay upright on the bike:
#1: Know Your Limits
Most of us have not dedicated every waking hour to winning the yellow jersey, and, unlike the pros, our main goal should always be to get back home in one piece.
That doesn’t mean we can’t push ourselves and try to grab the odd KOM or bragging rights in a sprint to the street sign, but we should always be riding within our limits.
This is especially true during descents. It takes years of practice for the pros to make it look easy.
Don’t feel like you have to keep up with your cycling buddies if you don’t feel comfortable.
They will wait for you. (Probably.)
And if they don’t, there’s no harm in allowing a group ride to become a solo one, provided everyone has communicated that decision to one another.
#2: Be Predictable
If you are riding in traffic, especially if you commute to work, make sure that you are always riding predictably.
This gives drivers around you confidence that you know what you are doing and will be able to safely move past you.
Learn how to signal properly and ensure that you can always be seen, especially on those dark evening commutes home.
#3: Bike Handling
Bike handling skills are just as important as how many watts you can put through the pedals. Just like any skill, it needs constant work to improve.
Learn how to position yourself on the bike during descents and how to properly control your bike through corners.
falling off bikes: final thoughts
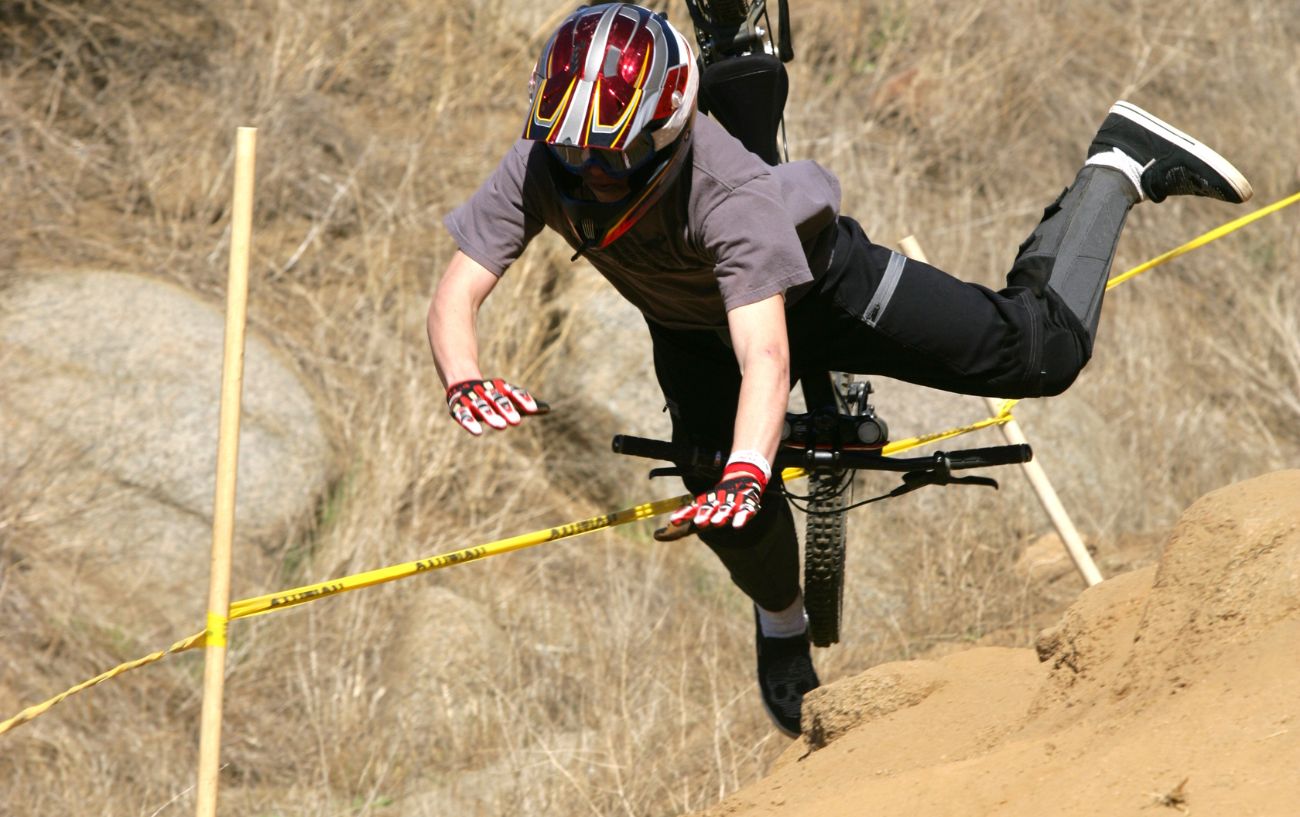
Biking accidents happen. Most of us will have a bike fall at some point in our cycling lives.
Armed with this information, you should know what to do in the event of a crash and how to build yourself back up, physically and mentally.


